The Jacket went *fairly* smooth, and the trousers, I had already done up a muslin, so I had an idea about it, but it was still a little tricky... I am pleased with the results, though. I have to still make the cap. Here we go...

Lay out the trouser pattern - this was a download and print out. I put it together one morning at the office before work in the big floor area.

After cutting the trousers pieces out, laid out the jacket pieces, and cut them out...

The jacket is lined, so after spending 45 minutes at JA trying to find a lining, I found one that ended up to be perfect. It is a batik. Laid that out and cut it out. Phew... that was all done a while ago... and it sat until ready to sew.... gee the prep was enough to tucker me out.... no I didn't do all of that at once, either... Those were over the spans of several days..

The day is finally here to begin sewing. I am starting with the jacket. Back panel together, because I am going to embroider a design on the back. This is, after all, one motorcycle outfit.

Begin...

Lady Rider Design. The rose is "Inky Rose" design from Embroidery Library... Inky Rose Border

Top Stitching....


Panel with Gussets for shoulder easement. I forgot what they called those pieces...

Pockets... you sew the pieces to the outside first, you sew the outline of the pocket, can you see that above?

Then you cut the slot and snip on each corner so you can turn the pocket piece over to the inside... then top stitch....

Now you have the pocket zipper opening.. cool, huh?

Zipper installed and pocket lining....

Front zipper now installed... This was tricky because i didn't know where to have the beginning (Bottom) of the zipper, but we plunged forward with our best supposition...

Yaye the zipper works....

The facing is going to be installed...

How the back looks now....

How the front looks now....

View of lined pocket....

Shoulder taps - My first Snap Installations ....

Sleeves - facings on elbows, and zippered wrists. These were very tricky, did I tell you that the directions leave a lot to the imagination? I had a lot of "making it up as I went a long" type things to do... It all came together, though - and as with all of my projects, there will always be things that are just between me, my machine, and my sewing room. Ha Ha...

Sleeves attached, and collar pinned....

View from the back...
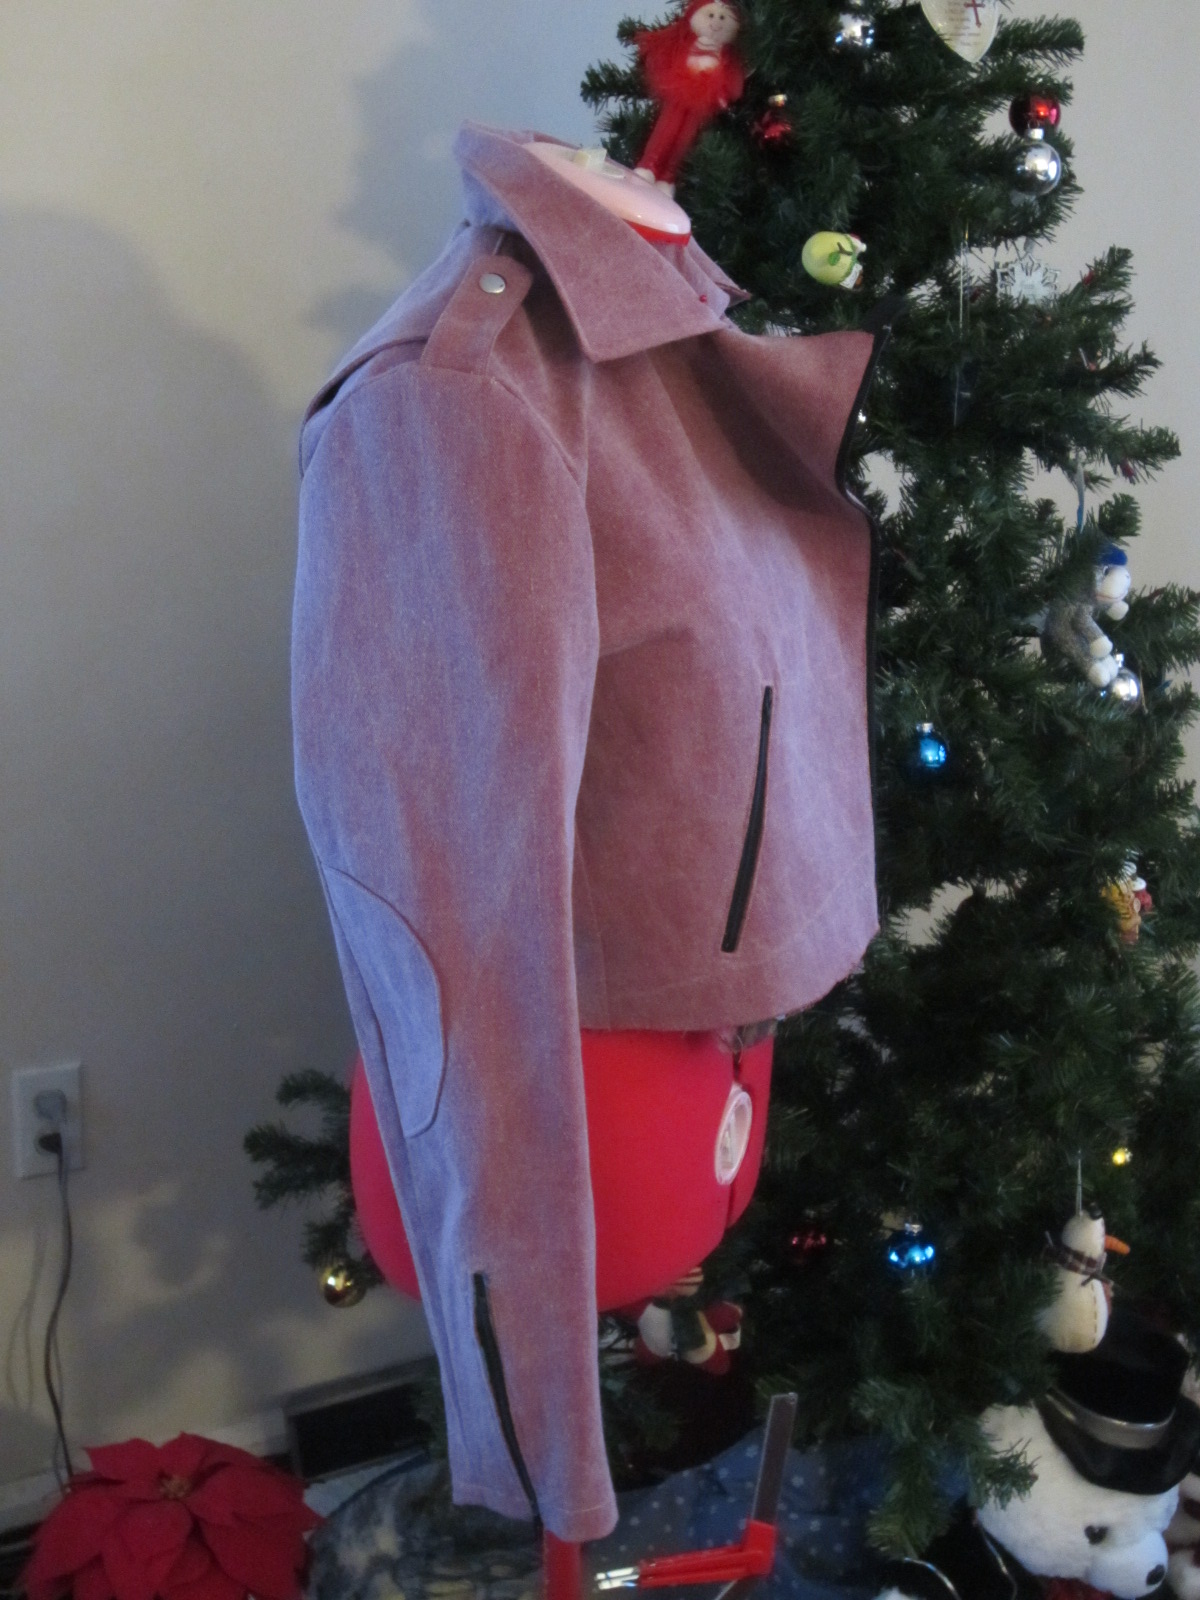
Side view....

Front zippered...

I love how the lining looked with this denim... Lining is in the jacket and arms...

Bottom snap and showing snap installation tool....
That was the finishing touch of the jacket! DONE!
Starting the Trousers...

A pile of pieces....

Step One - Installing pockets

Pleating pocket inner liners

Rear Pockets...

Assembling onto back pant legs...

Assemble front to back legs...

Waist pieces...

1/2 Waist outer seam done...

Inner waist seam assembled, center seam of pants now together....
All that is left now is to install a zipper. The pattern called for a button fly but I didn't like that on my muslin, I totally made up how to install the zipper, but hey, I figured it out... I think it's OK. it works Ha Ha.

Completed Outfit

Pants

Jacket..

Back of outfit...

Jacket/embroidery...
Finito.. as soon as it gets warmer I will go for a cruise on my bike in the outfit... I wore the outfit to work. Not bad. Comfy.
2 pieces of my SWAP complete and several more to go. Sewing some fun tidbits in between...Just sewed Baltimore Ravens pyjamas today. Might blog it later on. Need to take a picture of the outfit. Didn't take any as I went.
Ciao!