Stay Warm!
Well, It was Saturday and I was stuck all day...Didn't want to start a big project yet, so fumbled around all day looking at tutorials, reading the forum, straightening the sewing room, looking over my project list... Finally around 6 pm got motivated to make my Ravens Accessory Set....Hat, Gloves and scarf. Had to make a run to JA for the Ravens Purple yarn to make my new favorite Ruffly Yarn Scarf I learned from This Tutorial. I already had some left overs to make an easy as pie Pom-Pom Fleece Hat I found at AllFreeSewing.com Made by Emi Harrington: "How to sew a Fleece Hat" (Tutorial Video Here) And the Gloves, well I'm making those up as I go along.
I started with the hat. Had a scrap big enough to use, cut an 11 x 21 3/4 piece. The "Ravans" couldn't be centered becuase of the way the scrap was cut and needing the 11 inches, so the back seam when I'm done will be a little off center... I can live with that.

I chose to use overlock stitch to sew the seam closed to make the tube (right sides together)

Turned right side out, and turned up bottom cuff twice. The tute had a larger roll, and didn't sew it, but I had a shallow roll since I needed the word "Ravens" to show. Since is was a shorter rollup, I decided to topstictch the roll, so it would stay in place amnd the wording would always be visible.


To make the Pom-Pom, Cut in on the top one inch in deep. When you are at the and, cut out the seam piece of the fringe, so it is not bulky when you gather up the pom-pom. Sew an elongated stitch (gathering stich but real wide) all the way around right underneath the fringe, with strong thread. you will gather the fringe up to make the pom-pom and wrap the thread around the bottom of the pom-pom the give it a solid bottom, and tie it off.

Be sure to pull the pieces out as you gather and tie up the fringe, and "fluff it out" and it will look like this

All done with the hat!

Next - The Gloves...
OK, admittedly I don't know what I'm doing and I don't want to do all those gussets because i tried that once and put it away after trying to sew the first seam.... So we are doing just plain seams, and turning. So let's try one.
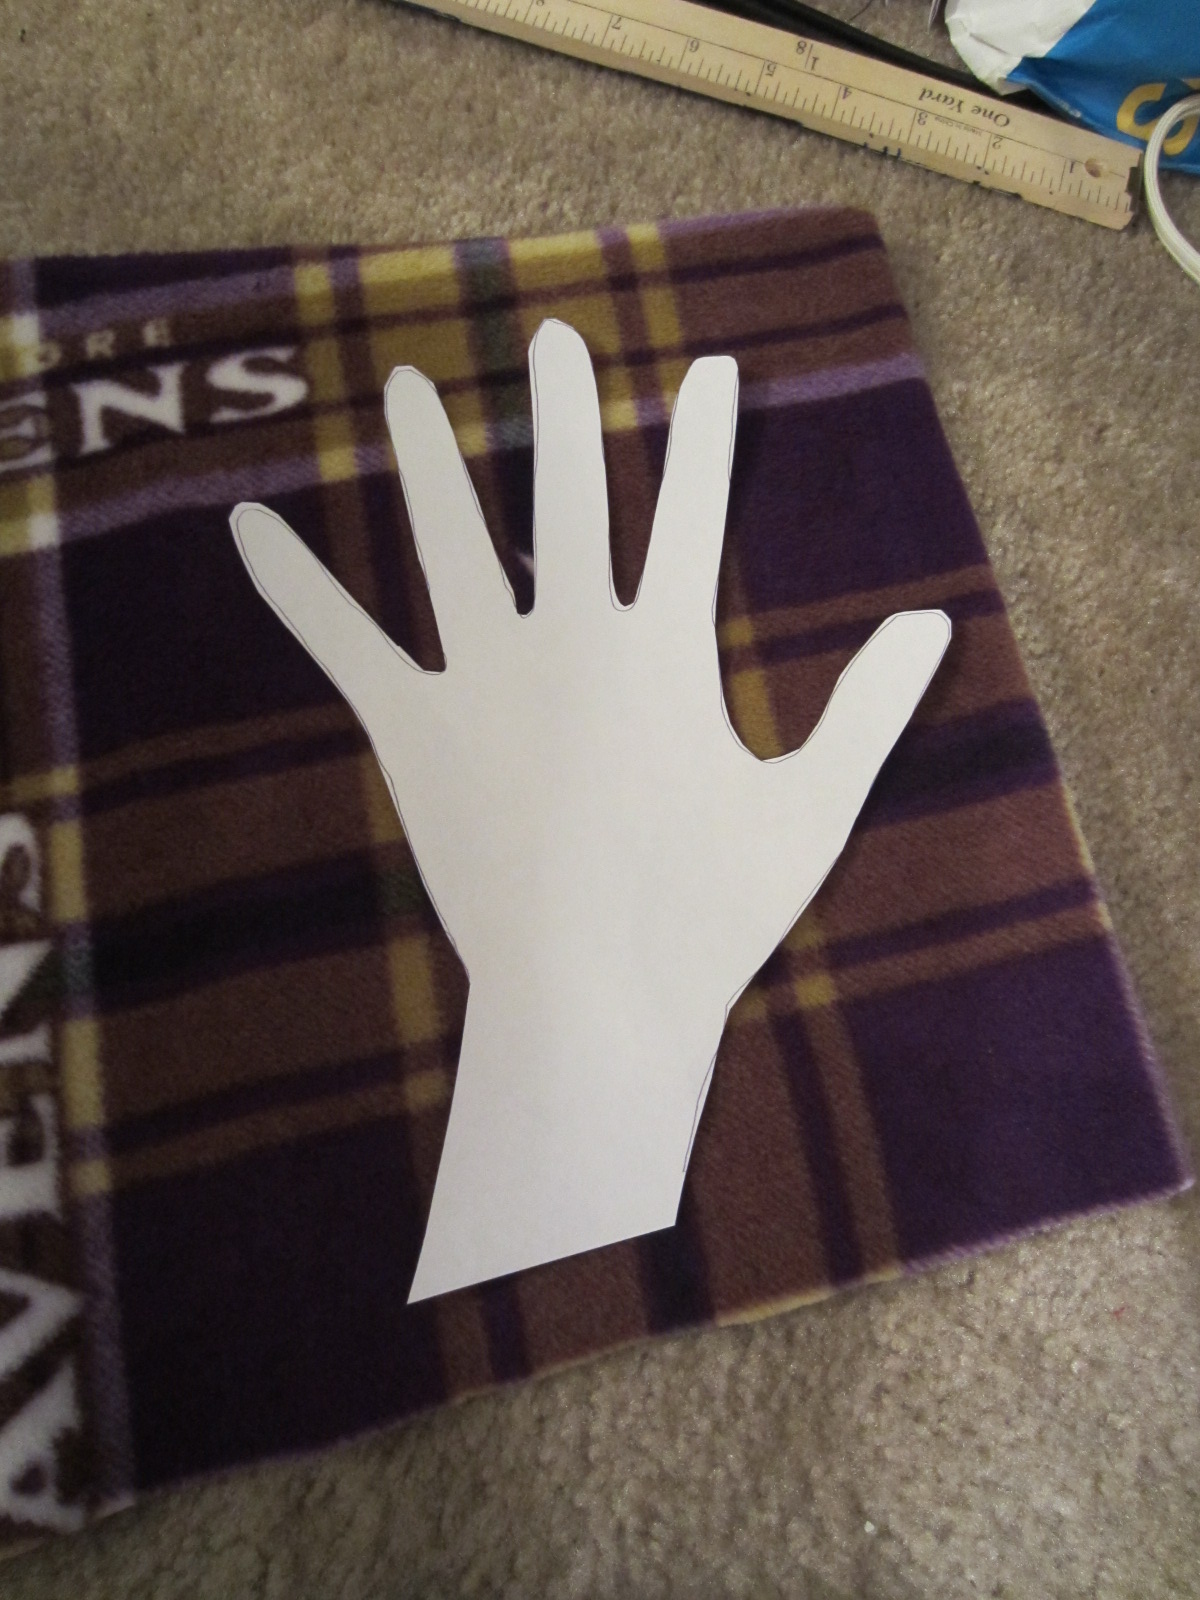
Pattern of my Hand. Lay it over the spot lined up to where I want the top of the hand to end up. I needed to sew about 1/4 to 3/8 of an inch all around the hand and fingers and also to sew about let's say a good inch above the fingertips of the pattern. This I only learned after completing the second glove, which was better than the first, but which still needed improving. So I didn't take pictures, but basically figured out that I should cut it out like a mitten (not all in between the fingers and what not) and just for the sewing in between the fingers, and then trim the seam allowance when done. I also realized with fleece I need to make the palms pleather.


This are still not prefect the way i want them, but they are wearable, although a little sweaty maybe? I will keep practicing the seams between the fingers... I think I will need to make a template with more space between the fingers for seams... I know cutting corners doesn't yield the right results, but I just can't do all those gussets yet... One day I will try that again...


The Scarf....
So My Favortie new scarf tutorial was put to use again with a ball of 109 yards of chunky purple yarn to make a 45 inch ruffly yarn scarf.

Basically you are "Zig-Zagging" the yarn bit by bit, bunching it together, and sewing it down the middle...

I'm showing here the bunching, but I had to use one hand to hold the camera, so this is not the best picture... The more bunched you make it the sttronger your scarf will be. (the shorter, too, so if you want long, you may need two balls of yarn) Once you are done, go back and run another stitch down the middle over the first one (close to it is good enough here) to add the strength...

Okay - now I have a set of Ravens Accessories... Yaye!
I wore them this morning to the store and the cashier remarked that I "Must be a Raven's Fan" :-)
Here's the set...

Check This Out...
The Funny thing is... Now when I ride in my Jeep, I am even more of a matching set, because I made Seat Covers out of this fleece, so I match my Seat covers! Who can say that????


