3.31.2013

My 1st Quilt...

This was fun!


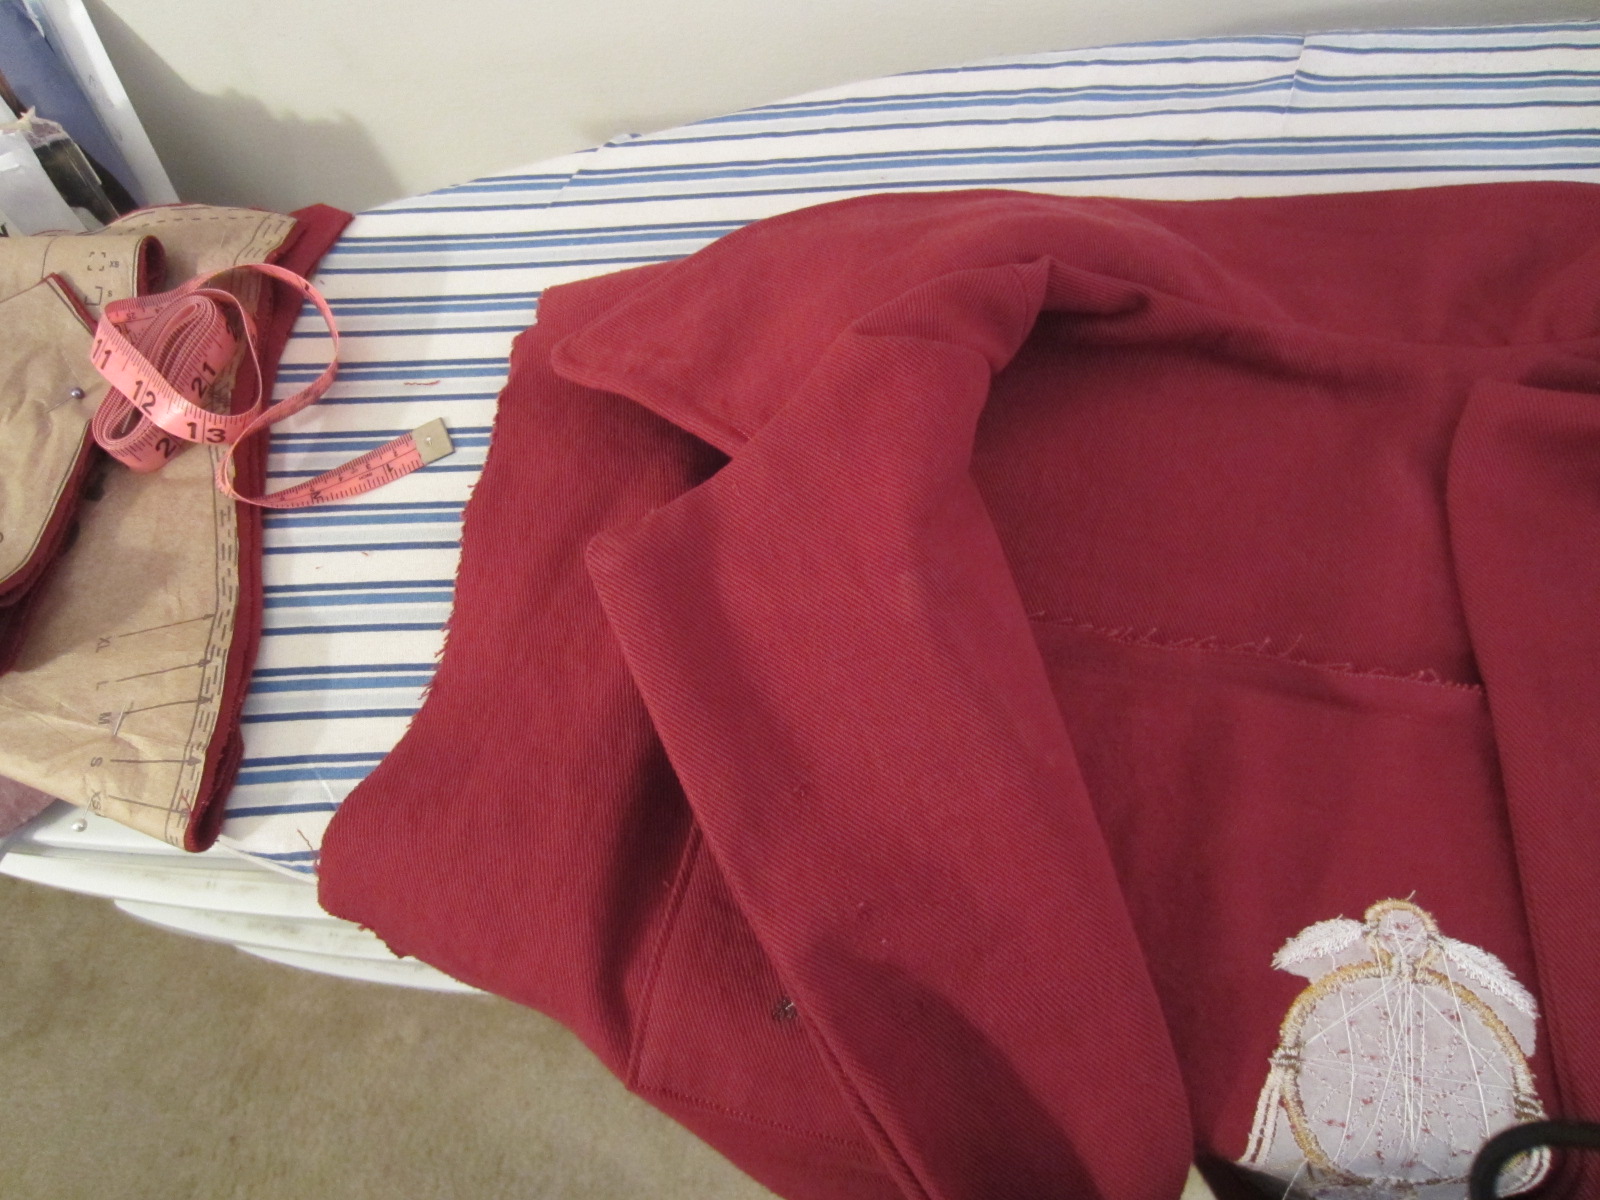
I have been needing a break form SWAP sewing, so I've been doing a couple side projects to keep things interesting.  I have a month left for SWAP... I hope I get my SWAP mojo back soon, so I can finish in time...

Anyway, so I was surfing projects on JoAnn's.com site and came across two quilts that I was interested in.  Showed them to DH and he picked the Patchwork Throw.  Project is Here.


So, off to JA's to look for 7-8 cotton prints to make up my quilt.  I had a purple tie dye fleece in stash for the backing.  So, started finding some prints, but it wasn't coming together quite right at first.  The I found and awesome Tea Bag Tag print. How cute was that. so it didn't really work in with the purples/pinks/blues that I was selecting, but as I was going down, looking around, I found some butterflies (my new fancy) that went with the teabags, soon enough my quilt was taking on a brownish tones theme.  So be it. Anti-pill was on sale for 40% off anyway, what's 1 1/2 yds of brown going to cost? :-)

Home and washing everything....Drying... All ready to start tomorrow morning..

So, started by cutting strips in each of the 8 pieces of 1/2 yd prints.  They said to vary the widths.... Okay.... Let me say the rotary-cutter was an essential tool for this project.  The pattern called for scissors, but no way.  Rotary-cutter and yardstick for straightedge.  I still had to cut the remaining 6 inches from the width of each strip that went off the 36" cutting mat and 36" yardstick. but that was no problem.


Okay, then once all strips are cut (I made 4", 5", 6", 8")  Next time I might lose the 5" - Too  subtle of a width change.  Then I had to cut them all into thirds.


Then Make 4 equal piles - Now not knowing any better, I divide the 84 pieces I had by 4, and made 4 piles of 21 pieces.  However, now I know to strategize the sizing of the pieces, because if I have 10 pieces of 4" strips vs 10 pieces of 6" strips, you can see where I have 1 really long strip and one much shorter strip.  It wasn't too bad how I ended up, but just something to make a note of for next time.  I would have been able to make a larger quilt.


All Done with my stacks.


Now sew each pile long sides together to end up with 4 long pieces with stripes of the fabric pieces.  Start at 10:00


All 4 strips sewn and ironed front and back. (seams flat)


Now, Need to cut these wide strips into smaller strips of differing widths.  You can see how the strips are differing lengths.  Not terrible, but that was the counting of the pieces I was mentioning before of selecting the 21 pieces, not paying attention to each piece's size.  Maybe that would be too nit picking anyway, not sure...


Okay, so the pattern called for 1 1/2 yds of fleece for the backing.  see how short we are?  So I had to run to JA and get more.  At first I figured I had to get a whole new piece because of the seam factor of piecing together, so I got the bolt, got my number, and as I always do, I walked over to the remnants bin to peek around.  You will not believe what was in there!  1.4 yds of Brown Anti-pill! So it was 90% off.  (40% +50% remnant) No brainer, right?  Scooped that up, put the number back and the bolt back, and hit the register, grabbing up a Reese's candy on the way.


Threw that in the wash, while i proceeded to cut the new strips and surveyed my progress, and strategy for final sew-up.


Marked my matching points, and started pinning and sewing...


Folded the piece twice and trimmed all up squared off so I had one perfect rectangle piece.


Meanwhile I had sewn the two pieces of fleece together for the backing.  Now lay the final piece on the backing


Trimmed and folded over the sides for about a 3-3 1/2" border around the centerpiece.  We sewed this up.


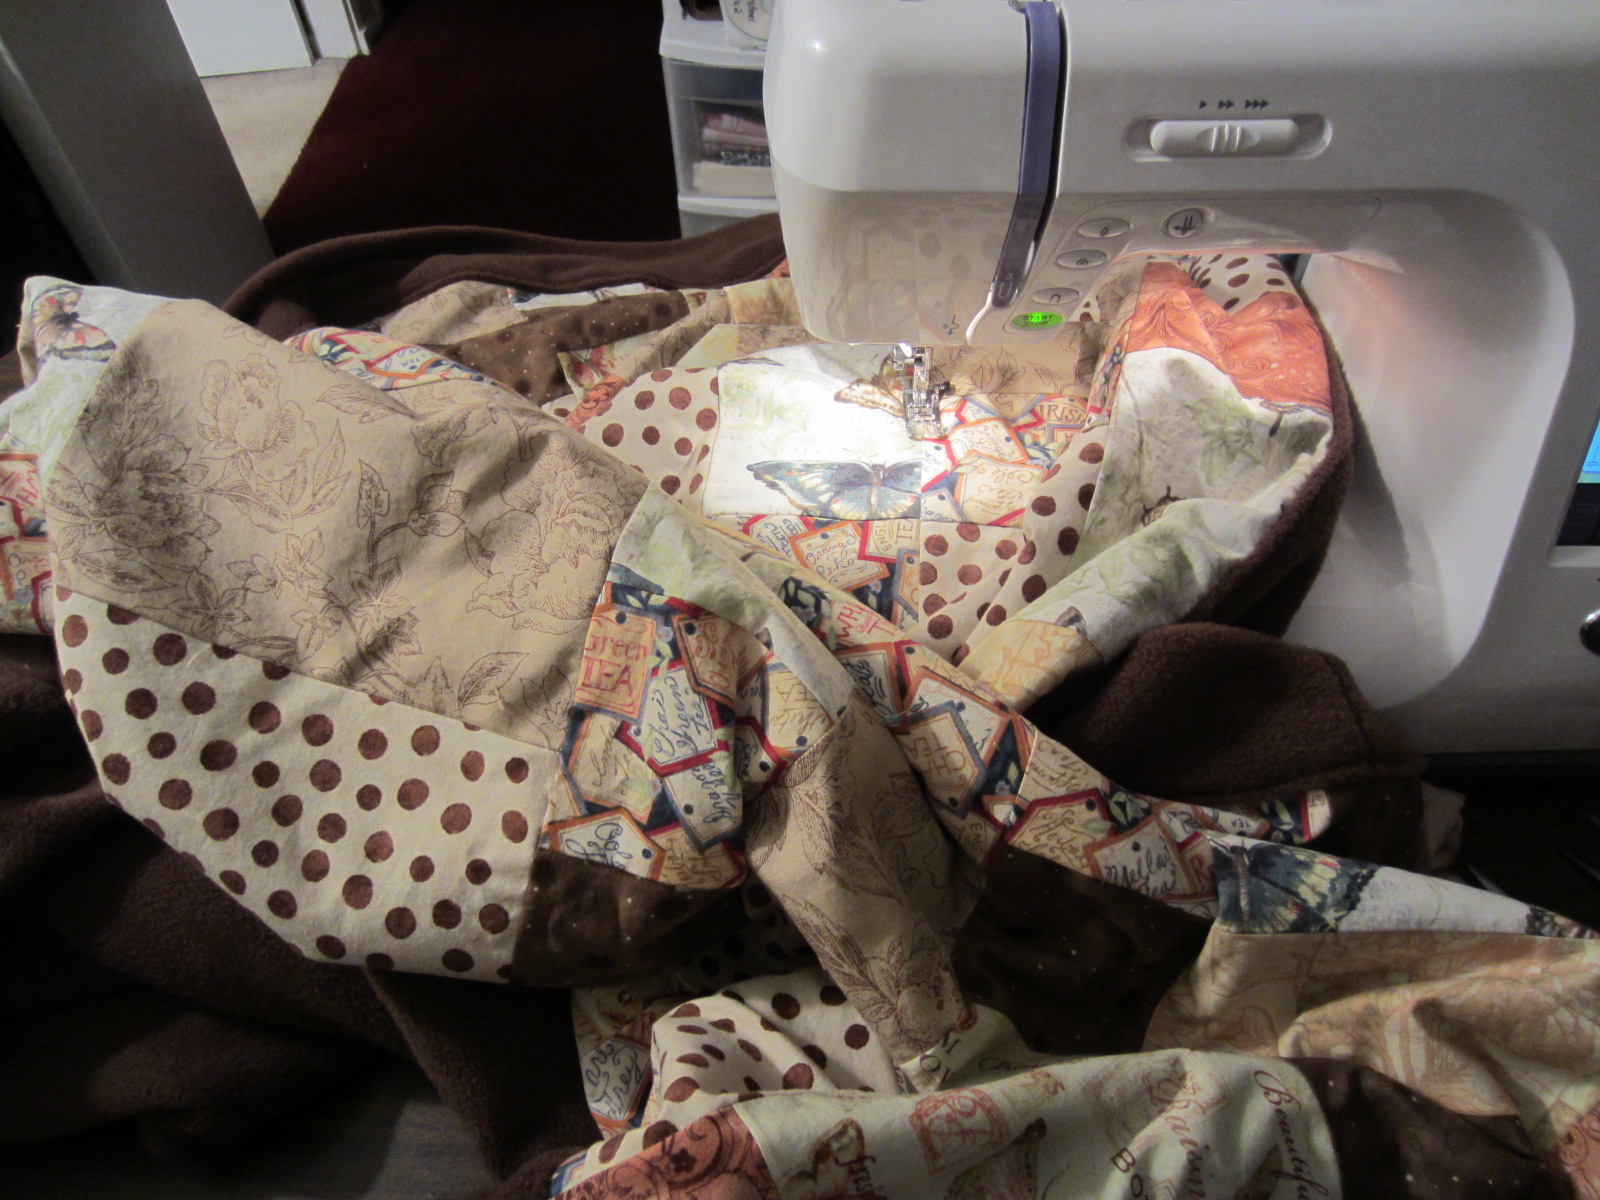
Now we quilt the backing to the prints.  Being my first quilt, I merely did huge squares that the pattern called for.  I did a pretty good job keeping them straight.  And don't you know - that seam form piecing the two fleeces together  I used that as a guide for one of my quilting lines, so no one is the wiser at all that there was a piece together!  Kewl, huh?


Wahlah!

Quilt measures 83 x 48.


Project all told was approximately 8 hours of sewing/crafting time, and took two days.

Cheers!

-JDol


3.13.2013

Red Motorcycle Outfit

Well, I took some photos last week of my SWAP motorcycle outfits modeled with my motorcycle.  Liked the Faux leather a lot, but while I love that wine denim outfit so much, just didn't like how it coordinated with my bike.  My bike is Deep Red and Silver or Maroon/Gray.  Looking at the photos, I pictured how nice it would be to have a red denim outfit with a gray shirt, that would match the bike.  Grabbed a swatch of the 10 oz red bull demin from JA and checked it out with the bike paint - looked nice to me, so let's go for it.  For the Gray/Silver shirt I used Shiny silver spandex - like the dance wear fabric.  Oooooh so comfy.

Used Patterns:
McCalls Palmer Pletsch M5894 Bootcut Jeans,
Butterick B5402 Connie Crawford Denim Jacket  I used cut off sleeves....
and for the shirt - Kwik Sew/Kwik Serge 2900 view A.

Mostly snapped photos of the vest.  just concentrated on sewing the jeans, and then just whipped up the shirt.

Chose to embroider the vest. Wanted to go with the Native American theme of my bike, so chose a Dream Catcher for the back and feathers for the front pockets.

Started as I always do - cut the pieces, iron the pattern pieces, cut the fabric.  Sometimes I am unable to do that all at once, depending how many pieces, and what not.  I am still a floor cutter, I do not have a cutting table.

 
It took quite a while and the span over two days to decide on the embroidery designs  First decision was the Dream Catcher for the back of the vest.


Next was deciding whether I wanted anything on the front, and if so, what?  Another day and found a design of feathers that would work for each pocket.  I would need to make a second copy in reverse of the design so there would be one for the right and left pockets.


Embroidering away..........

 
Front right and left ready to move on...

 
Collar installed...

 
Along with facings

 
Add the Buttonholes... Do you ever get nervous here?  I do not have a huge amount of button holes under my belt, and still get nervous because by the time you get them the project is all together, so one false move and..... let's not go there.......  So I use my sensor setting...
 
 
Place the button in the back of the foot and Ms Jamome automatically sews the right size...

 
Here is a trick I picked up form a Utube video some time ago I wish I could state the source, but it was so long ago, and such a random find... anyway, it was to put a pin in the beginning and end as a stopper, so there were no accidents as I cut the button hole.  It has worked famously every time.

 
Jeans I took 3 photos..  #1...
 
 
#2...

 
#3,,,

 
The shirt is a loose fitting Mock neck, LS shirt in Silver spandex - took no snaps of that construction. Whipped that one up in between lunch a movie.
 
The final results exceeded my expectations. yielding an outfit that matches my bike.  I like that idea.  Bike is a 2001 Honda Shadow Aero 1100.


Cheers!
 
JDol


3.06.2013

SWAP Accessory....

Faux Leather Hair Glove


A Hair Glove is a wrap for long hair when you are riding a motorcycle (or any other motor sport, too).  I have real long hair, so I have trouble finding long ones for my hair. the longest I usually find is 8 inches. that covers about 1/2-2/3 my hair.  Then try finding one that is "nice" and not plain or with flames or skulls on it.  So....Let's make our own.  Plus I wanted to make a matching one since I have the outfit I made now.  Here is the one I already have been using:

 
This is how much hair it covers:
 
 
Yup, about 1/2....  I don't really want only a tube going down my back, so I won't make it double the size, just maybe 25% longer - another 2 inches should be good.
 
 
It closes with snaps...

/
 
And has a hook to catch on a ponytail holder that is wrapped around the top of the ponytail.


This one is 8" my new matching one will be 10".
 
 
Then Mark where the snaps are going.. I think I did 7/8" apart, down the length of the glove.

 
Start the installation.  Rocky start - first time with these type snaps, but smooth sailing after the first one...

 
These went on with a hammer and a thread spool, and utilized a pencil eraser to push the fabric onto the claws of the snap pieces before hammering the base pieces onto them.

 
So, installing the catch I found a covered large hook and eye set, that the hook would be perfect for.


Sewed that in place - it needs to be a little off center to end up proper on the glove when closed and wrapped.
 
/
 
We are ready to go to JA's for embellishments... Beads of a sort to top this off... (it's a clever way to hide the sewing on of that catch) :-)

 
Three strands of shells, and one floral piece.  There were many choices in the brown section, but I like the look of these the best for my glove....

 
In action:
 
 
Comparison:
 
 
I can place the glove a little lower on my head by starting the ponytail a little lower on my neck. Then we'll cover even a little more hair, but I like the extra coverage I obtained with the extra 2 inches.  I will be making a wine denim one also to go with my denim motorcycle outfit.
 
Cheers!
 
JDol