Showing posts with label Design. Show all posts

2.16.2014

Website Launch

I started a Website.


JDolsCreations.com

It is in it's infancy as of today, but I am going to build it up.  Only page on it so far is my Painted Leather Page.  (aside from the basics).  Next up I'm working on an Embroidery Page.  My idea is to start selling some of my artwork.  Come check it out if you get the chance! :)  All Comments are welcomed and feedback and suggestions, please! Thank you!

Cheers!


JDol

11.13.2013

I've been busy!

I've been busy, but I've been blogging on my Motorcycle Blog...  I've been embroidering SweatshirtsBaseball Caps (new), PatchesJacketVest... Pretty much doing a lot of embroidery.  Fitting in DH stuff in there also! :)  Well, my new motorcycle has been taking up a lot of my time, I'm enjoying it so much!  So blessed.

Cheers!

JDol

9.11.2013

Blue J Custom Seat

Well I made my first mod to my Bike.  Her name is now "Blue J" and I made a custom seat.  I will merely link to the post I made on another blog, see what you think!


I have since made a tank bib, but I haven't made a post yet, and plus it needs a mod to it.  I modified my fork bag to match/complement my seat.  Let me know what you think.


Cheers!


JDol


3.03.2013

SWAP Wearable Art

A JDol Creation for my SWAP Denim Motorycle Outfit...


A lot if inspiration went into this project.  First and foremost my comrade IndigoTiger from my Favorite Sewing Forum gets mega kudos for inspiring me to paint this halter.  She does stenciling on her Tee's and after seeing her latest Cave Horse Stencil Tee (Max is on that link, too) I had to give stenciling a try.  So I did on the jacket in a previous post in February.  I enjoyed it, and remembered all those years ago when I used to paint acrylics and dabbled in watercolor.  My painting artist was awakened, and now I have another way to personalize my clothing.... I found I like to mix stencil with much freehand painting. Way too much fun!

I was inspired by this Harley leather Halter

 
Already made one Halter from this inspiration picture (see below)


So since I was able to acquire more of this wine denim and wanted to make a halter for my SWAP denim motorcycle gear collection, I decided I wanted to paint it. Now, what to paint on it?  Much deliberation and I decided on butterflies (my new fancy)  So here I go with a blank canvas again... takes me a while to get going in one direction when there are millions... so got over to JA's for more paints and found some spray paint - Yes! that would be perfect for the background... I like the misty soft gradient nature that would build on the base.  Then I found spray on glitter - Yes! had to have that, too.  I was well on my way.


I cut the pieces and sewed the back pieces together, and began to paint my background
 

It sort of goes on and soaks in very fast.  I worked with it, and a few coats....
 
 
Then painted the glitter on...
 
 
So, Now to let the background dry a good 4 plus hours....
 
Sewed together the font pieces, and painted them.  This is the first coat - it soaks in after it goes on...  I think by the time I was done, I had more of a solid shade on the underneath of the vest, than on the top of the vest.  Not thrilled with that; I was hoping for a more opaque spray paint job for the back ground.
 
 
Below is the after shot....


Making the stencil for the main butterfly on the back of the vest.  Now mind you, I was in the kitchen looking at the finished back panel, visualizing different images and trying to figure out what kind of butterfly design I was going to paint on the panel, so I'm staring at the panel on the floor on the newspapers "drying" and DH comes in and says - "Nothing like watching paint dry"... LOL...


Got the basic down, now to play...  I had inspirations from this Butterfly Pictures Website and went on to paint the main butterfly.  The whole image was going to come along as I was inspired to make each next step....


Butterfly Done
 
 
Next inspiration...
 
And finally the end result:
 
 
So that is the rear panel.  I am letting the two front pieces dry overnight.  We'll get more pix as we proceed to the front pieces.  I also want to top this off with another shot of glitter - I like that added sparkle.
 

The Next Day...

 
Well, I'm working on the front pieces today, (painting)... So far so good...  The pieces dried overnight, so my "canvas" is ready... See below what I mean that the paint seemed to coat through to the underside more than the top side?  There must be some sort of primer available to prime the fabric to avoid that... Wrong side is shown first below.


Okay, so off to drawing a little bit of an outline of my butterfly... yes you can barely see it in real life, too....
 
 
So painting the first side then wanting the second side to come out reasonably mirrored, I traced the first image mirrored onto the Stabilizer Paper, to cut a quick template...
 
 
I basically laid the paper on top of the wet paint first to get a general outline.
 
So now have both sides painted the base image.
 
 
Now to go to work on the painting - Fun!
 
Here is my result...


The picture doesn't grab the glitter paint that is what you see the gold as.  I think this top looks real nice in person.  I want to add a little some thing more to the sides... not sure If I'm going to add some kind of glittery swirls, or some green stemmed flowers...  It's a big decision... still gotta ponder... the gold swirls will enhance the butterfly, and the green stemmed flowers will bring more color... need to determine what I am going for on the front... The back is very colorful....so do I want to keep that theme or ???.... anyway, I'm really enjoying this, and can't wait to sew it all up and see how it looks modeled with the pants. 
 
It's supposed to be sunny and 50F next Friday, so I am hoping to model my new outfits on my motorcycle... I have 4 outfits now. (well this will round out the 4th) 2 spring and 2 summer.  I need to get more of that brown knit and make a long sleeve tee to wear under the fringe faux leather top.
 

Later

 
Okay, so paint dried, and installed side panels...
 
 
Then the zip on front pieces...

 
Oh yeah....BTW I decided on glitter flowers with butterflies on the sides of the big butterfly. Just a little accent.
 
So, sewed up all the top stitching/hems and we were all done. 
 
Now I have a piece of Wearable Art.
 
Final Pix:


Hip Hip Hoo-ray!
 
Cheers,
 
JDol


2.24.2013

Stenciled Painted Jacket

I had to try it!


Well my very very creative comrade IndigoTiger from Stitcher's Guild Forum does stenciling on her fabrics, check out her Star Stamp Stencil she made for SCA - see the post Indigo's Stenciled Outfit, along with her latest creation: Cave Horse Stencil.... (just scroll down that post a few lines)  So she was so inspirational to me, I had to give this a try - I used to love painting (acrylics & a little watercolor)  So I felt a pull to give it a go... - Thanks IndigoT...

So here it is Saturday... I've been racking my brain what to do for another piece of my SWAP, and how to incorporate a stencil into it... not coming up with anything the past couple of days.  In any event I need to try this out first anyway, to see how the technique works...  So I found a great jacket at the store this morning that I thought would be great for my experimentation.  So that's off to the washer and I'm off to JA for fabric paint.

They didn't have jacquard brand, so i had to go with the only one they had - hope it isn't too lacking... I chose the "soft matte" version of the paint, and off we went to check out in the lo-o-o-o-o-ng Saturday line :-) but all was well, because on my way out were the Girl Scout Cookies! snagged a handful of boxes of those to share at the office and DH's favorite for him.

So here we go on our adventure.  Here is the planned design:

 
I decided to go with a sewing theme because I do not have any sewing dedicated clothes - they are mostly Ravens, but other than that the embroidery is animals, or floral, or, well, things other than sewing - time to honor my newest craft! It's been almost 2 years this summer!  Thought this would be fun for my jacket.
 
Here are my supplies....
 
 
I decided to use my iron on tear-away stabilizer for my templates.  With the iron-on feature, my thoughts were that the paint wouldn't "bleed" under the template... we shall see if that theory works.... next the stabilizer is translucent and therefore easy to trace the layers of color change templates on top of each other.    So I drew onto the template paper layer 1 - the white paint layer, and cut it out...
 
 
The drew on the second layer - the wooden spools.

 
So, here are the 3 templates cut...


I plan to do some hand painting of threads ravelling off the spools, after the stencils are complete tomorrow.  I would probably only get 2 layers done tonight.  Supposed to dry 4 hours in between. And some black outlining, detailing, too.
 
 
I know this looks gray in the pic, but it's a gorgeous heather purple...

 
Template one affixed to the jacket...

 
Okay - painting done for white.....

 
Now wait 4 Hours... later will snap shots of layer 2....
 
Now it's 90 minutes later and I'm thinking I'd like to spruce up the text instead of plain white.  However I'm thinking how the template is not re-usable; just keep in mind what you use for the stencil b/c if you want to use it again, freezer paper or stabilizer is not the way to go - especially with the effort to cut those out....  Anyway, I think I'll just go over and pop some color onto the text while the template is still on...
 
So here is with the color highlights:
 
 
Now to unveil Layer 1.....

 
So my theory on "bleeding" was not foolproof, as the paint was sort of thick around the outside of all of the cut spaces.  The tear-away stabilizer worked nicely as afar as coming off - that J you can see was the worst of the bleeding...  Now I think I'm supposed to Iron this paint to set it, but I'm not sure when, or if the when matters.... I already moved on to layer 2, so we'll have to iron later at the least, but I'm figuring I'll just iron later this afternoon when all is done.  Here is the second layer...  I am using the sponge applicators for this, seeing if it makes a difference or not...  It also looked as I was applying the paint on the right side that the stabilizer was not quite ironed on perfectly... Hmmmm.... hope those spools come out okay...
 
This is fun!  This may be a simplistic design & concept, but I think I'll have a fun jacket from it...  I am going to paint some black lines on it for delineations and then there will be some color lines for the threads coming off of the spools... This should be fun looking, for a first timer, anyway  :-)  I also want to put "sewing" on the sleeves on at least one side, and something on the other.  (maybe "notions"?)  That's the advantage of the painting - being able to put things on the sleeves...can't embroider on sleeves (per say) unless you are able to undo the seams on the sleeves and what not...
 
 
Well, unless you want to sit for 4 hours and watch paint dry... I'm off........ Back later...
 

Later...

 
Spools Done..  It did seem that using the sponge applicators worked better, at least they did on here... is that because the spaces were smaller?  Here are the spool bodies worked well with these applicators - I don't think there was any overage...
 
 
Thread Bodies Applications...

 
All Templates Done....

 
Now for the freehand... I must admit I had the most fun here... shading the machine, it looks good in person, the threads, well they were basic... then had to fill in the spots in the text - not particularly my best work there... and then there was a spot left over, empty/negative space, so I entered my beginning year of my craft - 2011.

 
All in all I am satisfied with my first ever painting/stencil project.

 
Once this dries, I'll keep thinking about doing the sleeves.  If I do them, they might be freehand...Or I can take a look at stencils at JA of letters.  Those I can use over and over.....it was good to make the stencil of the sewing machine & then hand paint the details on it... but the little text I think I might like better hand drawn.  I don't know for sure, I have to experiment...
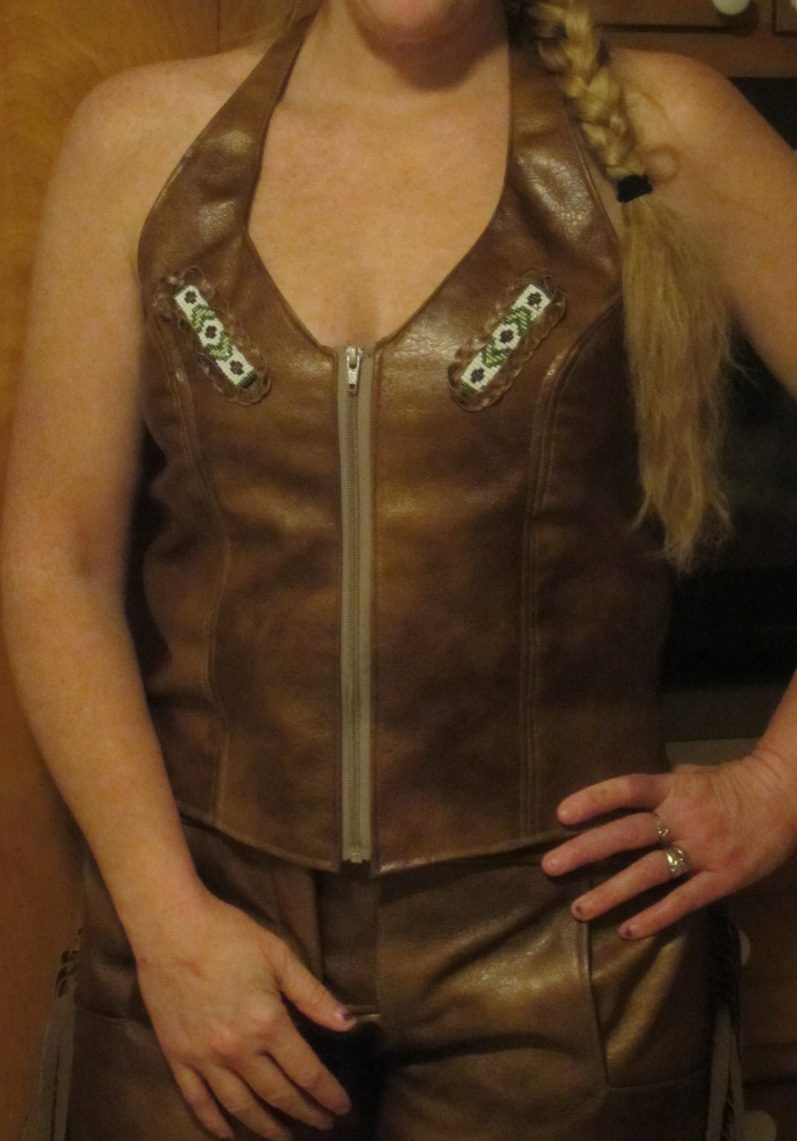
Last pic of the jacket "in action"... I notice I have the design low like when i made my faux leather halter, and the results are that the design bunches in that curvature of the small of my back.  So this is twice now, I will be more conscious of this moving forward... for this pic I pulled the waist of the jacket down, but probably won't wear it that way all the time, so the text will be bunched up a bit.
 
 
Oh yeah - the jacket is Purple Heather Jersey Knit (maybe doubleknit?) lined with Black Sherpa - kewl huh?  It's so cuddly and warm.... MMMmmmmmm
 
Cheers!


2.16.2013

SWAP Faux Leather Vest/Top

My Matching Top

So part of my Motorcycle Gear Collection of my SWAP is the Matching Faux Leather Top to go with my Fringe Pants that are already completed.  So I had to start with a design concept.  About the only thing I was sure of was that I wanted the laces in the front.  I would not be lacing this each time I wear it, and there also would be a modesty panel behind it so there would be no "Peek-a-boo", so I had to figure out how I was going to be able to get this on and off... Okay... Install a zipper on the side... Sounds good.  Here is my Draft:

 
We didn't end up quite like this, but my new matching top is beautiful to me.  I hope you like it too.  So when it came time to actually get to this I had to draw up the pattern pieces, and make the final design.  I've been learning new styles of  how tops go together, so I decided to incorporate some of those techniques into my top.  So I drafter the design and pattern pieces:
 
 
Front design...  

 
Cut out the pieces for the whole top....
 
 
Ready to cut the fabric....
 
 
Beginning the sewing...

 
Cutting front fringe...

 
Front Right and Left...

 
Front and Back pieces top stitched...

 
Top stitching detail...
 
 
The shortest Zip is an 18 inch-er..

 
So, I'll sew the "stop" at the top of each side.

 
All installed...

 
Now the front panels are in and the zip installed...


Now measuring out where the eyelets will go... We'll go 1 1/2 inches apart.

 
Now punching the holes - we are going through the double thickness for added support.

 
Eyelets Installed now...

 
Lace cut from the material itself installed.
 
 
I had to install two Studs because I had to take a tuck in the top at the neckline so it would lay flat... another concept to learn about in pattern drafting - the woman's chest.. anyway, took the tuck, and glued it, then studded it to keep it secure.  It fits though, no?  :-)


I've done the trying on and the vest falls a little shorter than I wanted.


I don't care for that little Gap in between the top of the pants and the bottom of the top.  I do however really like how this top has turned out! love the look with the fringe.  Now my final thought is to add fringe to the bottom to cover that gap that I dislike... What do you think?
 
Well let's cut a pattern piece for it by tracing the bottoms and measuring a 4" length.


Oddly enough I didn't take any snaps of the install of the bottom fringe but being leather I had to turn under by gluing, hold with clips while it dried a bit, and then glue it onto the top, let it set enough to stitch, then top stitch it.
 
Now we have a finished look and I like it... a matching outfit.  I can wear long sleeve tee under it on the cooler days, and halter in warm days.  I haven't lined this yet, when I do it will be glued in...  I will learn how to do these more intricate things properly as my skills get stronger, but no one has to know what is on the inside of my garment :-)
 
How do you like?


Here is it with the pants
 
 
All Done! And with a stamp of approval from DH!  What can be better than that!
 
Ciao!