Showing posts with label Denim Jacket. Show all posts

5.18.2013

Native American Poncho & Jacket

Well Here's Projects 2 & 3 on my DH 6PAC - Dearest Hubby's "6 Projects for my Awesome Companion"

Native American Jacket


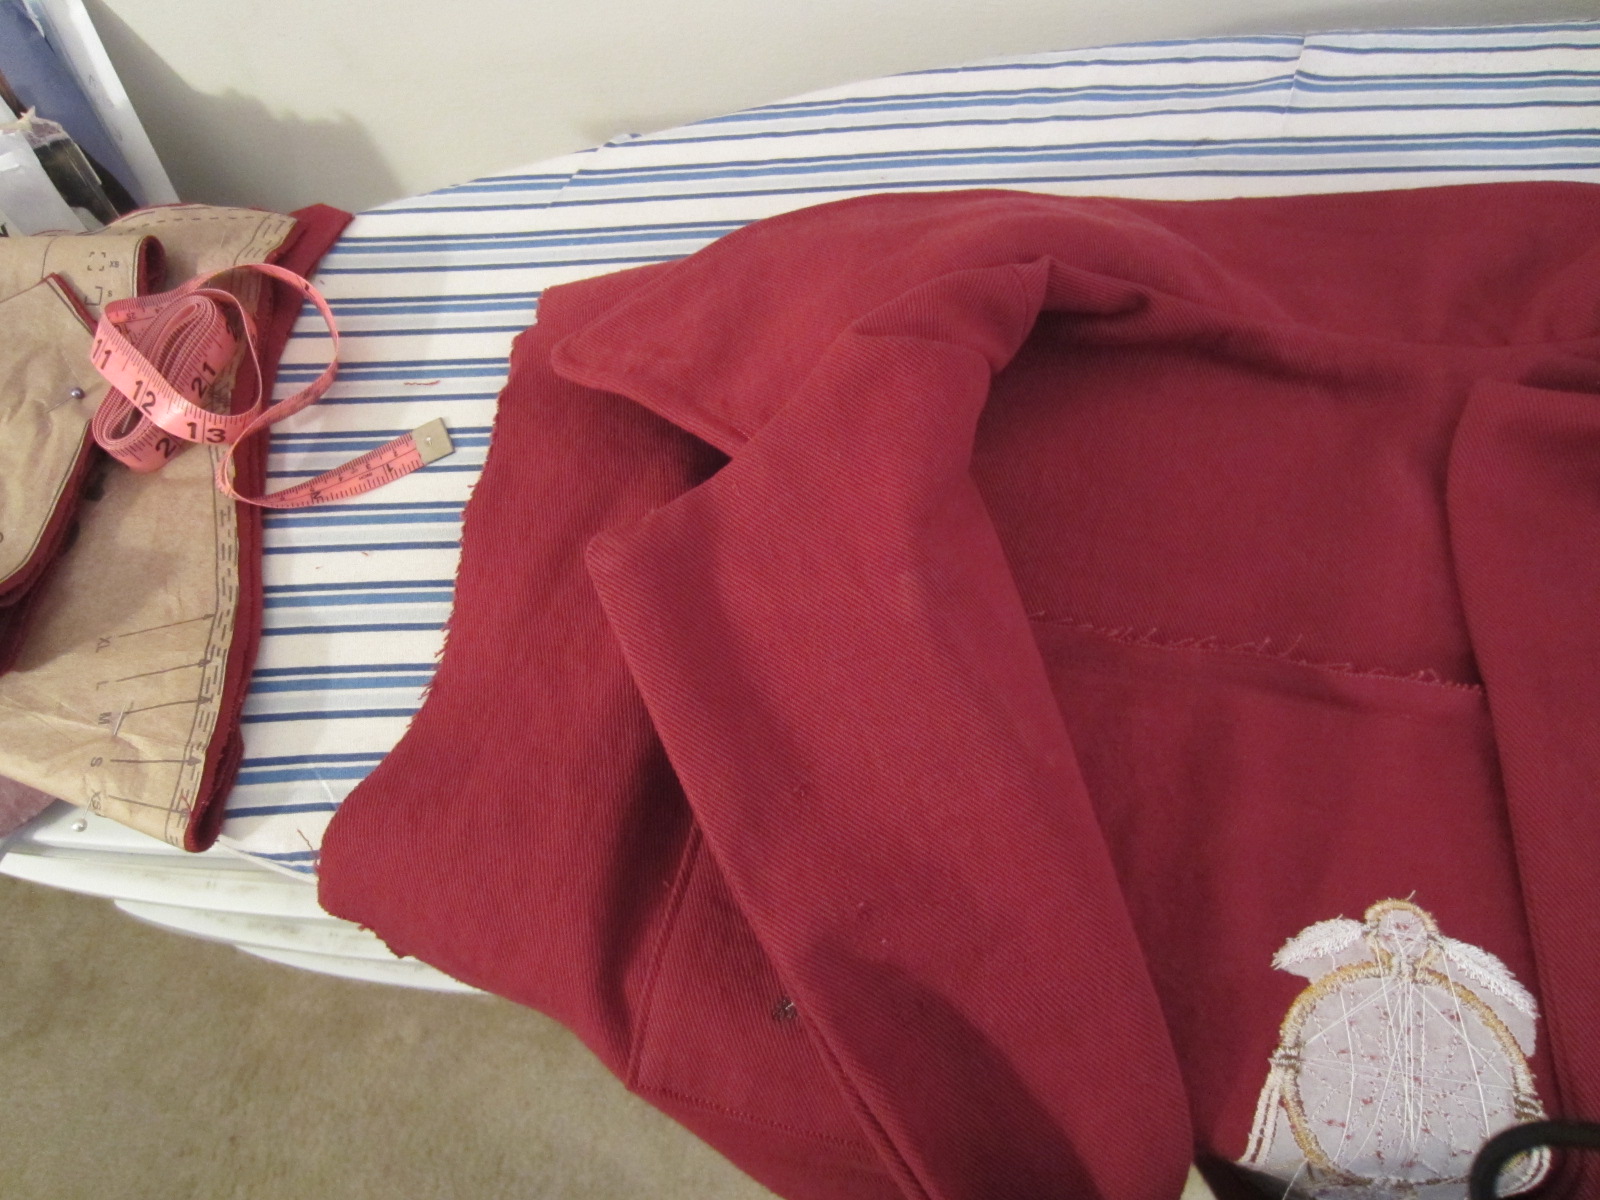
DH found inspiration from Indian Village Mall one day, so he put on the list to embellish a denim jacket one day.  I had fallen in love with that site, too, and was inspired, so I searched for some nice fabrics, and ordered some from Southwest Decoratives.  He liked Sierra Trail Aztec Brown Stripe.  Their cottons are very good quality - at least the southwest collection was.  So No major pictures here, but I trimmed some fabric for the front and back yokes, 3 separate pieces. Took attention to details on centering, lining up, etc.  I double top-stitched all around each piece.  That gave it a quality finish as well as a strong finish.  I am aware that he washes his jackets, so I didn't want any mishaps down the line.

Do you know he paid me the grandest compliment today?  He said this jacket was The Best jacket he had out of his denims.  Now, this is coming from a man who a) knows how to dress, b) takes care on how he dresses, c) has many denim outfits, (and leather) let alone denim jackets, and he told me that this one was The Best of his denim jackets.  I am thrilled that he likes this one so much :-)  I am pleased how it turned out and pleased at how it looks on him.

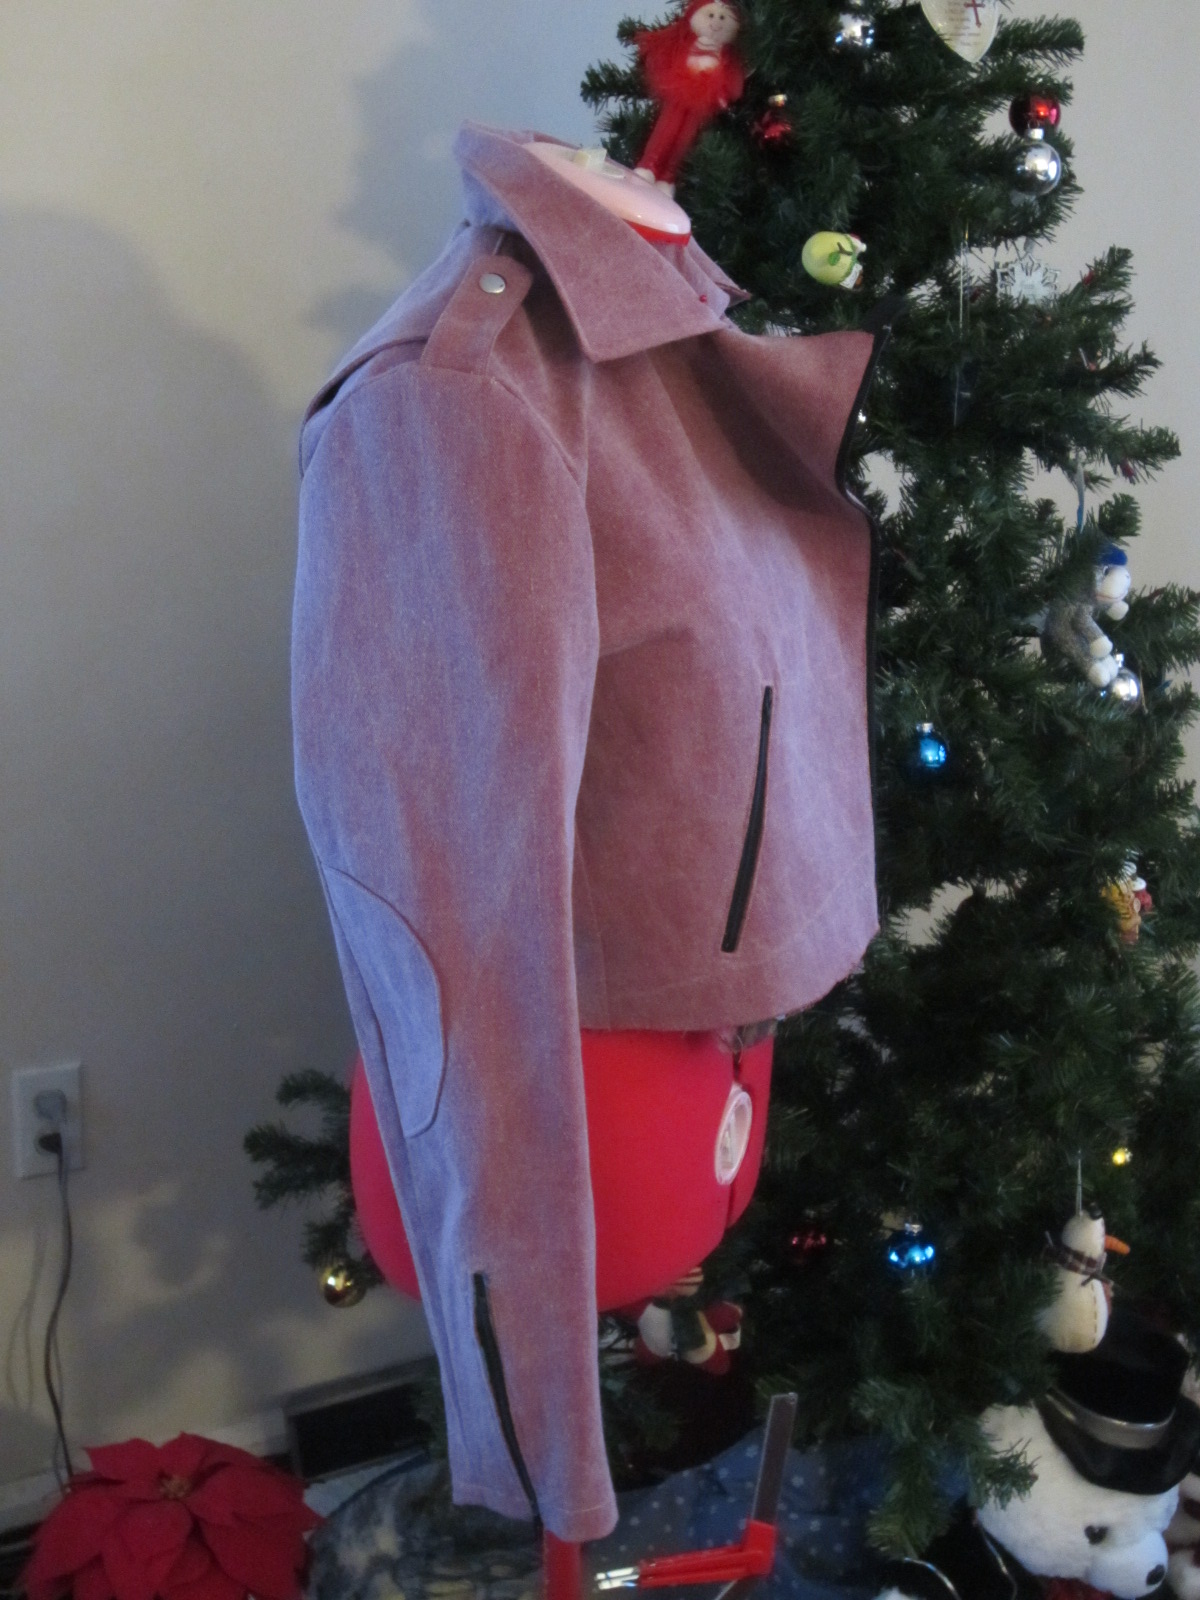
We are both thinking if there is a touch of anything that will coordinate onto the front breast pockets, but he is being very particular, since he said he would rather have the jacket as is, then put something on the pockets, just for the sake of putting something on there.  If it doesn't coordinate within the fabric that is already on, then we are going to leave them as is.  So far I've been playing around and haven't liked anything.

Here is the front an back of the jacket.  No photos along the way, this was a pretty simple assembly, just took time to line it all up the way I wanted.


Native American Poncho


So, next, for my SWAP bridging garment I had made a Native American Poncho, and when he saw mine, he immediately wanted one.  See, we always keep a blanket in the trucks for in the case of an emergency to keep warm.  when he saw my poncho, he thought that would be a great idea, because then while keeping warm, you could still use your hands if needed.  Now if this isn't a simple garment to make, I don't  know what else is.  You know those patterns that advertise 1 hour pattern? and then in that small print they say **1 hour actual sewing time?  Yes, you still have to cut the pattern pieces and still have the cut the fabric, pin it, yadda yadda.... well this is totally a 20 minute outfit.  Fold the blanket twice to get the exact center, cut from the center in each direction (on the long side) about 9 inches, but to a decorative stop point on the garment, and roll and stitch.  I've found it easiest so far to stitch the two sides then stitch the two v's.


So, Now I have 3 projects knocked off of the DH 6PAC list.  At the current time, the only materials I have in house are the leather and bead strips for the leather shirt embellishment, so we'll take a look at that project next.  

Since I've got 3 projects knocked out, I might squeeze in my pants tomorrow.... I'd like to have them for next week.

Preakness is starting in a few minutes.... Will Orb head for the Triple Crown?  

Oh well... Not so much....Oxbow & D Wayne Lukas. At least my girl Showed. :-)


Cheers!

JDol


3.13.2013

Red Motorcycle Outfit

Well, I took some photos last week of my SWAP motorcycle outfits modeled with my motorcycle.  Liked the Faux leather a lot, but while I love that wine denim outfit so much, just didn't like how it coordinated with my bike.  My bike is Deep Red and Silver or Maroon/Gray.  Looking at the photos, I pictured how nice it would be to have a red denim outfit with a gray shirt, that would match the bike.  Grabbed a swatch of the 10 oz red bull demin from JA and checked it out with the bike paint - looked nice to me, so let's go for it.  For the Gray/Silver shirt I used Shiny silver spandex - like the dance wear fabric.  Oooooh so comfy.

Used Patterns:
McCalls Palmer Pletsch M5894 Bootcut Jeans,
Butterick B5402 Connie Crawford Denim Jacket  I used cut off sleeves....
and for the shirt - Kwik Sew/Kwik Serge 2900 view A.

Mostly snapped photos of the vest.  just concentrated on sewing the jeans, and then just whipped up the shirt.

Chose to embroider the vest. Wanted to go with the Native American theme of my bike, so chose a Dream Catcher for the back and feathers for the front pockets.

Started as I always do - cut the pieces, iron the pattern pieces, cut the fabric.  Sometimes I am unable to do that all at once, depending how many pieces, and what not.  I am still a floor cutter, I do not have a cutting table.

 
It took quite a while and the span over two days to decide on the embroidery designs  First decision was the Dream Catcher for the back of the vest.


Next was deciding whether I wanted anything on the front, and if so, what?  Another day and found a design of feathers that would work for each pocket.  I would need to make a second copy in reverse of the design so there would be one for the right and left pockets.


Embroidering away..........

 
Front right and left ready to move on...

 
Collar installed...

 
Along with facings

 
Add the Buttonholes... Do you ever get nervous here?  I do not have a huge amount of button holes under my belt, and still get nervous because by the time you get them the project is all together, so one false move and..... let's not go there.......  So I use my sensor setting...
 
 
Place the button in the back of the foot and Ms Jamome automatically sews the right size...

 
Here is a trick I picked up form a Utube video some time ago I wish I could state the source, but it was so long ago, and such a random find... anyway, it was to put a pin in the beginning and end as a stopper, so there were no accidents as I cut the button hole.  It has worked famously every time.

 
Jeans I took 3 photos..  #1...
 
 
#2...

 
#3,,,

 
The shirt is a loose fitting Mock neck, LS shirt in Silver spandex - took no snaps of that construction. Whipped that one up in between lunch a movie.
 
The final results exceeded my expectations. yielding an outfit that matches my bike.  I like that idea.  Bike is a 2001 Honda Shadow Aero 1100.


Cheers!
 
JDol


3.03.2013

Patch It

Saturday Morning...


Well, DH projects are backing up so I had to get some out the door :-)... I have another pair of leather pants to alter for him, although I've been intimidated because the last ones didn't last perfectly.  I would like to get a larger eye needle so I can use my stronger thread that I have. ("gotta go to JoAnn's")  :D HaHa!...  So that's been on my rack for a few weeks, contemplating what to do.... ( I just thought of the needle solution this morning as I wrote this.)  You see I'm still a novice and figuring out the billions of details that go into sewing by machine...
 
I also have a dress shirt monogramming project from, oh, way back when, it is now on the rack, but it is from so long ago I have to re-ask what I am supposed to be doing with it... something on the cuffs.... it was so long ago, that I was nervous to do it, not really knowing how.  Now I know how and am confident, just need to know the what... :D...  Then there are two pairs of jeans that I was going to let the waist out a little - those need to be found and put back in the queue.
 
So that leads me to Saturday morning...There was a jean jacket that the sleeves needed shortening, that was a bit tricky for some reason, but we worked it out by fitting the sleeves while the jacket was on him.... For some reason it wasn't a straight "take it up by 2 inches all around" type refit... the front was only being taken up around 1 1/2 and the back about 2 1/2 - like that.  It was interesting.  but it came out with the nod of approval from DH, so we were happy.


Then there were a bunch of patches that he had ironed on, but that needed to be tacked down on two jean jackets, so we got all those done for him.
 
The Ravens Jacket:


And the Patriotic Jacket:  (You should see this patch in person - it is beautiful, and takes up the whole back of the jacket)
 
 
So we had started out the morning that way, then went on to work on my painted denim halter which will be in another post when I am done....
 
Cheers!


1.19.2013

SWAP Wine Denim Outfit

Well although I've not been blogging or been on My Favorite Forum, in almost 4 weeks, I have been sewing 2 pieces of my SWAP.  One of my motorcycle outfits: The wine denim pants and wine denim jacket.  These are BURDA patterns: Larissa Jacket #6032, and Bella #6011 Trousers.  (Link not available at this time for trousers). 
The Jacket went *fairly* smooth, and the trousers, I had already done up a muslin, so I had an idea about it, but it was still a little tricky... I am pleased with the results, though. I have to still make the cap. Here we go...

 
Lay out the trouser pattern - this was a download and print out.  I put it together one morning at the office before work in the big floor area.

 
After cutting the trousers pieces out, laid out the jacket pieces, and cut them out...

 
The jacket is lined, so after spending 45 minutes at JA trying to find a lining, I found one that ended up to be perfect.  It is a batik. Laid that out and cut it out.  Phew... that was all done a while ago... and it sat until ready to sew.... gee the prep was enough to tucker me out.... no I didn't do all of that at once, either...  Those were over the spans of several days..

 
The day is finally here to begin sewing.  I am starting with the jacket.  Back panel together, because I am going to embroider a design on the back.  This is, after all, one motorcycle outfit.

 
Begin...

 
Lady Rider Design.  The rose is "Inky Rose" design from Embroidery Library...  Inky Rose Border


Top Stitching....

 
Back panel...
 
 
Panel with Gussets for shoulder easement. I forgot what they called those pieces...

 
Pockets... you sew the pieces to the outside first, you sew the outline of the pocket, can you see that above?

 
Then you cut the slot and snip on each corner so you can turn the pocket piece over to the inside... then top stitch....

 
Now you have the pocket zipper opening.. cool, huh?

 
Zipper installed and pocket lining....

 
Front zipper now installed... This was tricky because i didn't know where to have the beginning (Bottom) of the zipper, but we plunged forward with our best supposition...

 
Yaye the zipper works....

 
The facing is going to be installed...

 
How the back looks now....

 
How the front looks now....

 
View of lined pocket....

 
Shoulder taps - My first Snap Installations ....

 
Sleeves - facings on elbows, and zippered wrists.  These were very tricky, did I tell you that the directions leave a lot to the imagination?  I had a lot of "making it up as I went a long" type things to do... It all came together, though - and as with all of my projects, there will always be things that are just between me, my machine, and my sewing room. Ha Ha...

 
Sleeves attached, and collar pinned....

 
View from the back...

 
Side view....

 
Front zippered...

 
I love how the lining looked with this denim... Lining is in the jacket and arms...

 
Bottom snap and showing snap installation tool....
 
That was the finishing touch of the jacket!  DONE!


Starting the Trousers...


A pile of pieces....

 
Step One - Installing pockets

 
Pleating pocket inner liners

 
Rear Pockets...

 
Assembling onto back pant legs...

 
Assemble front to back legs...

 
Waist pieces...

 
1/2 Waist outer seam done...

 
Inner waist seam assembled, center seam of pants now together....
All that is left now is to install a zipper.  The pattern called for a button fly but I didn't like that on my muslin, I totally made up how to install the zipper, but hey, I figured it out... I think it's OK.  it works Ha Ha. 

 
Completed Outfit
 
 
Pants

 
Jacket..

 
Back of outfit...

 
Jacket/embroidery...
 
Finito.. as soon as it gets warmer I will go for a cruise on my bike in the outfit... I wore the outfit to work.  Not bad.  Comfy.
 
2 pieces of my SWAP complete and several more to go. Sewing some fun tidbits in between...Just sewed  Baltimore Ravens pyjamas today.  Might blog it later on. Need to take a picture of the outfit.  Didn't take any as I went. 
 
Ciao!