I've been busy, but I've been blogging on my Motorcycle Blog... I've been embroidering Sweatshirts, Baseball Caps (new), Patches, Jacket, Vest... Pretty much doing a lot of embroidery. Fitting in DH stuff in there also! :) Well, my new motorcycle has been taking up a lot of my time, I'm enjoying it so much! So blessed.
Cheers!
JDol
Showing posts with label Motorcycle Gear. Show all posts
Showing posts with label Motorcycle Gear. Show all posts
11.13.2013

9.11.2013
Blue J Custom Seat
Well I made my first mod to my Bike. Her name is now "Blue J" and I made a custom seat. I will merely link to the post I made on another blog, see what you think!
I have since made a tank bib, but I haven't made a post yet, and plus it needs a mod to it. I modified my fork bag to match/complement my seat. Let me know what you think.

Cheers!
JDol
5.18.2013
Shoulder Taps Gone Wild!
Well, here's the 1st item on my DH 6PAC. I'm using 6PAC as 6 Projects 4 my Awesome Companion.
So DH purchased a brown leather riding jacket with fringe, nice for spring mornings with a bit of a chill in the air. Real nice jacket... though those shoulder taps - goodness were they loopy... almost looping up to his ears.... take a look at this....


So DH purchased a brown leather riding jacket with fringe, nice for spring mornings with a bit of a chill in the air. Real nice jacket... though those shoulder taps - goodness were they loopy... almost looping up to his ears.... take a look at this....


Have you seen taps like this before?? Anyway, I took a look and it seemed if i opened the shoulder seams, I could pull the tap through and snug it up. Also, one of the sides seemed to be placed back too far. So lets pull that forward a bit, too while we're at it.
Okay here we go. Let's open the lining at the shoulders. DH said he wasn't concerned with how the lining looked at the end, so I was just going to open it up and top-stitch it back together when done.


Once the lining was opened, I was able to pull the shoulder through and take a peek how they assembled it. Sometimes they use glue on leather assembly, so I didn't know what I was gong to find. Well nothing was out of the ordinary, the seam held the tap, and the fringe.

So i opened that up, just the inch 1/2 or so that held the tap, and pulled the tap through. Gee that was a lot of extra tap. Hmmm.

So took a peek at how it looked on the other side, and what an improvement. So now comes the stitching. This is leather after all. So I have upholstery thread and Leather needles...

I set the stitches at 3.0 length. It made it though all thicknesses when we got to the tap, and no thread breakage at all. I am confident now that the stitches are of good strength for the wear and tear of a man's leather jacket. Adjusted side two to move the tap forward a bit, and stitched that together. Went together flawlessly also. Let's take a look....

Now that is much better than that airborne floppy tap of ole... Had DH do a quick try on, to make sure just before the closing of the lining... I got a big stamp of approval :-)..., so I stitched up the lining on the shoulders, and we're all set.

There was also a loose stitch on the front of the jacket that was unraveling, so I did a run along that to give that reinforcement. It was a zipper facing stitch, so that would have only kept unraveling as used... All is good.

Alright! Project #1 on the DH 6PAC done!
I think I threw off my comrades on my SG Forum by calling this a 6PAC. They are used to 6PAC's being collections of sewn garments that form a cohesive unit. I playfully called this a DH 6PAC since it was going to be 6 projects for DH. I think I set off a stir on the 6PAC thread. :-) LOL Ahhhh......... Whatta ya gonna do....
OKAY - What's next?
Cheers,
JDol
DH 6PAC
Well! with SWAP behind me, and photos in, the big reveal is on Monday the 20th. DH (Dearest Husband) has been rooting me on the whole way, and said my collection was top notch. I think the word excellent has been used. :-) He's just grand. So I was sort of energetic to jump into a Summer 6PAC which turned into a double....for an ambitious 12 pieces. Then I noticed DH had a few items on the docket, that i wanted to tackle for him, and decided, i didn't want to merely "squeeze" them in, I wanted to "Take them on". SO............. we are placing the 2 summer 6's aside and we are going to do a DH 6PAC. So let's see what we have:
So that's my DH 6PAC that I will be working on until they are complete. There is *one* pair of pants that I have cut that will take two hours to sew that I will "squeeze" in for myself, but the rest is the DH 6PAC.
Cheers!
JDol
"Shoulder Taps Gone Wild"
He recently purchased a really nice riding jacket, brown leather with fringe. Good for the spring chill in the mornings. It is a "Bon Jovi" style. That aside, it is really nice........except for ........... well it has shoulder taps that practically loop up to his ears! LOL. So that's project number one.Native American Denim Jacket.
We were both inspired at the same time by Indian Village Mall. He had come across this website and showed me their clothing items. I fell in love, too. So he would like a denim jacket with embellishment on the shoulder yokes.Native American Poncho.
He saw mine from SWAP and wanted one :-)Civil War Period Shirt.
He likes history, and Gettysburg. We are looking for the right pattern and then will shop for the fabric. That one will be fun.Beading Embellishments
He has two strips of beads to be installed onto a black leather pullover shirt/jacket. He got some inexpensive black leather pants off EBay for me to cut up to make the strips for braiding that will frame the beads when I install them on the shoulders of the shirt.Quilt.
He liked the quilt I made. My Butterfly Quilt. I told him he could pick out fabric and I would make him one! He will pick out 8 complimentary fabrics and 1/2 yard each. Let's see what he comes up with! He's got a great sense of style. He will have his own unique quilt.So that's my DH 6PAC that I will be working on until they are complete. There is *one* pair of pants that I have cut that will take two hours to sew that I will "squeeze" in for myself, but the rest is the DH 6PAC.
Cheers!
JDol
5.17.2013
SWAP Entry 2013 Final Pix.
I have now finished my very first SWAP (Sewing With A Plan) 2013. I had a lot of fun joining in this adventure. You have seen my posts along the way. I am making this post merely of the collection as a whole all in one post. Photo submissions start on May 10th and close on May 18th. I'm not sure when voting occurs, how it is handled, or any of those logistics. That info will be revealed as time draws nearer. I am so excited to see everyone's collections! We were all given some sneak peeks of some, and then there are some quiet members who will unveil at the end. Everyone has so much talent this will be hard to vote - I'll want to vote for so many of them. I'm glad I joined the Stitcher's Guild Forum when I did - Last Sept/Oct, because I jumped in on a winter 6PAC sew-along, which gave me a little boost of confidence to join the SWAP 2013.
So here is the Collections Photo:

Photo #1
#1A: Top #1. Self
Designed and Drafted Top. Della Buckskin Faux Leather from Warehouse Fabrics Inc. Side zip, fringe, self fabric lace, modesty panel.
#1B: Bottom #1. Matching Faux
Leather Pants Burda "Bella" #6011. Della Buckskin from Warehouse
Fabrics.com. Fringe added. (not in
pattern)

Photo#2
#2: Top #2. 3rd piece
of ensemble: Self Drafted Halter inspired by a photo of a Harley Davidson
Halter top. Matching Faux Leather. Self designed and weaved beading
accents, Back has embroidery of wolf.
(next photo)

Photo #3
#3: Back of Self Drafted Halter with wolf embroidery. Design
is from Embroidery Library
It's called Autumn Wolf

Photo#4
#4: Bridging Poncho with this collection

Photo #5
#5A: Top #3. Same Self-Drafted
Halter pattern (inspired by a picture of a Harley Davidson halter). Completely hand painted with self designed
artwork. (butterflies) Piece 3 of my wine denim ensemble. (piece 2 was a Moto Jacket which is not included in this SWAP)
#5B: Bottom #2. Wine
Denim trousers: Burda "Bella" #6011. Fabric is: Wine Denim from Fabric.Com

Photo #6
#6A: Top #1. Purchased Plain Denim Shirt and embellished
with yoke accent fabric (Southwest Decoratives), fringe, and 3 embroidery designs: a Sun Dancer Kachina, Rain Dance Kachina and a Wolf Diamond on the back. Designs from Design Library and Embroidery Library.
#6B: Bottom #1. Black
Denim Tiered Skirt from a XOX Skirt Tutorial from Weekend Designer. Pattern was modified to include waist band,
and to match photo that came with the tutorial.

Photo #7
#7A&7B: Back of Shirt and Skirt

Photo #8
#8A: Top #2. Red
Denim Vest Butterick B5402. 10 oz. Red
Bull Denim from JoAnn's. Made Cut-Off Sleeves., Embroidered Front pockets and
back.
#8B: Bottom #2. Matching
Red Denim Jeans McCall's Palmer Pletsch M5894 Boot cut. Outfit designed to
match my motorcycle.

Photo # 9
#9: Top #3. Showcase
the Silver Spandex Turtleneck pattern for the cooler days, also matches my
motorcycle. Fabric (Dancewear from JoAnn's) Pattern: Kwik Sew/Kwik Serge 2900
view A.

Photo #10
#10: Bridging Poncho with this collection

Photo #11
#11: Denim Skirt
detail.

Well, That's it...
My SWAP 2013. See you next year.
PS. I'm onto a Summer 6PAC along with a JDol 6PAC starting May-July.
Cheers!
JDol.
3.13.2013
Red Motorcycle Outfit
Well, I took some photos last week of my SWAP motorcycle outfits modeled with my motorcycle. Liked the Faux leather a lot, but while I love that wine denim outfit so much, just didn't like how it coordinated with my bike. My bike is Deep Red and Silver or Maroon/Gray. Looking at the photos, I pictured how nice it would be to have a red denim outfit with a gray shirt, that would match the bike. Grabbed a swatch of the 10 oz red bull demin from JA and checked it out with the bike paint - looked nice to me, so let's go for it. For the Gray/Silver shirt I used Shiny silver spandex - like the dance wear fabric. Oooooh so comfy.
Used Patterns:
McCalls Palmer Pletsch M5894 Bootcut Jeans,
Butterick B5402 Connie Crawford Denim Jacket I used cut off sleeves....
and for the shirt - Kwik Sew/Kwik Serge 2900 view A.
Mostly snapped photos of the vest. just concentrated on sewing the jeans, and then just whipped up the shirt.
Chose to embroider the vest. Wanted to go with the Native American theme of my bike, so chose a Dream Catcher for the back and feathers for the front pockets.
Started as I always do - cut the pieces, iron the pattern pieces, cut the fabric. Sometimes I am unable to do that all at once, depending how many pieces, and what not. I am still a floor cutter, I do not have a cutting table.


Used Patterns:
McCalls Palmer Pletsch M5894 Bootcut Jeans,
Butterick B5402 Connie Crawford Denim Jacket I used cut off sleeves....
and for the shirt - Kwik Sew/Kwik Serge 2900 view A.
Mostly snapped photos of the vest. just concentrated on sewing the jeans, and then just whipped up the shirt.
Chose to embroider the vest. Wanted to go with the Native American theme of my bike, so chose a Dream Catcher for the back and feathers for the front pockets.
Started as I always do - cut the pieces, iron the pattern pieces, cut the fabric. Sometimes I am unable to do that all at once, depending how many pieces, and what not. I am still a floor cutter, I do not have a cutting table.

It took quite a while and the span over two days to decide on the embroidery designs First decision was the Dream Catcher for the back of the vest.


Next was deciding whether I wanted anything on the front, and if so, what? Another day and found a design of feathers that would work for each pocket. I would need to make a second copy in reverse of the design so there would be one for the right and left pockets.


Embroidering away..........

Front right and left ready to move on...

Collar installed...

Along with facings
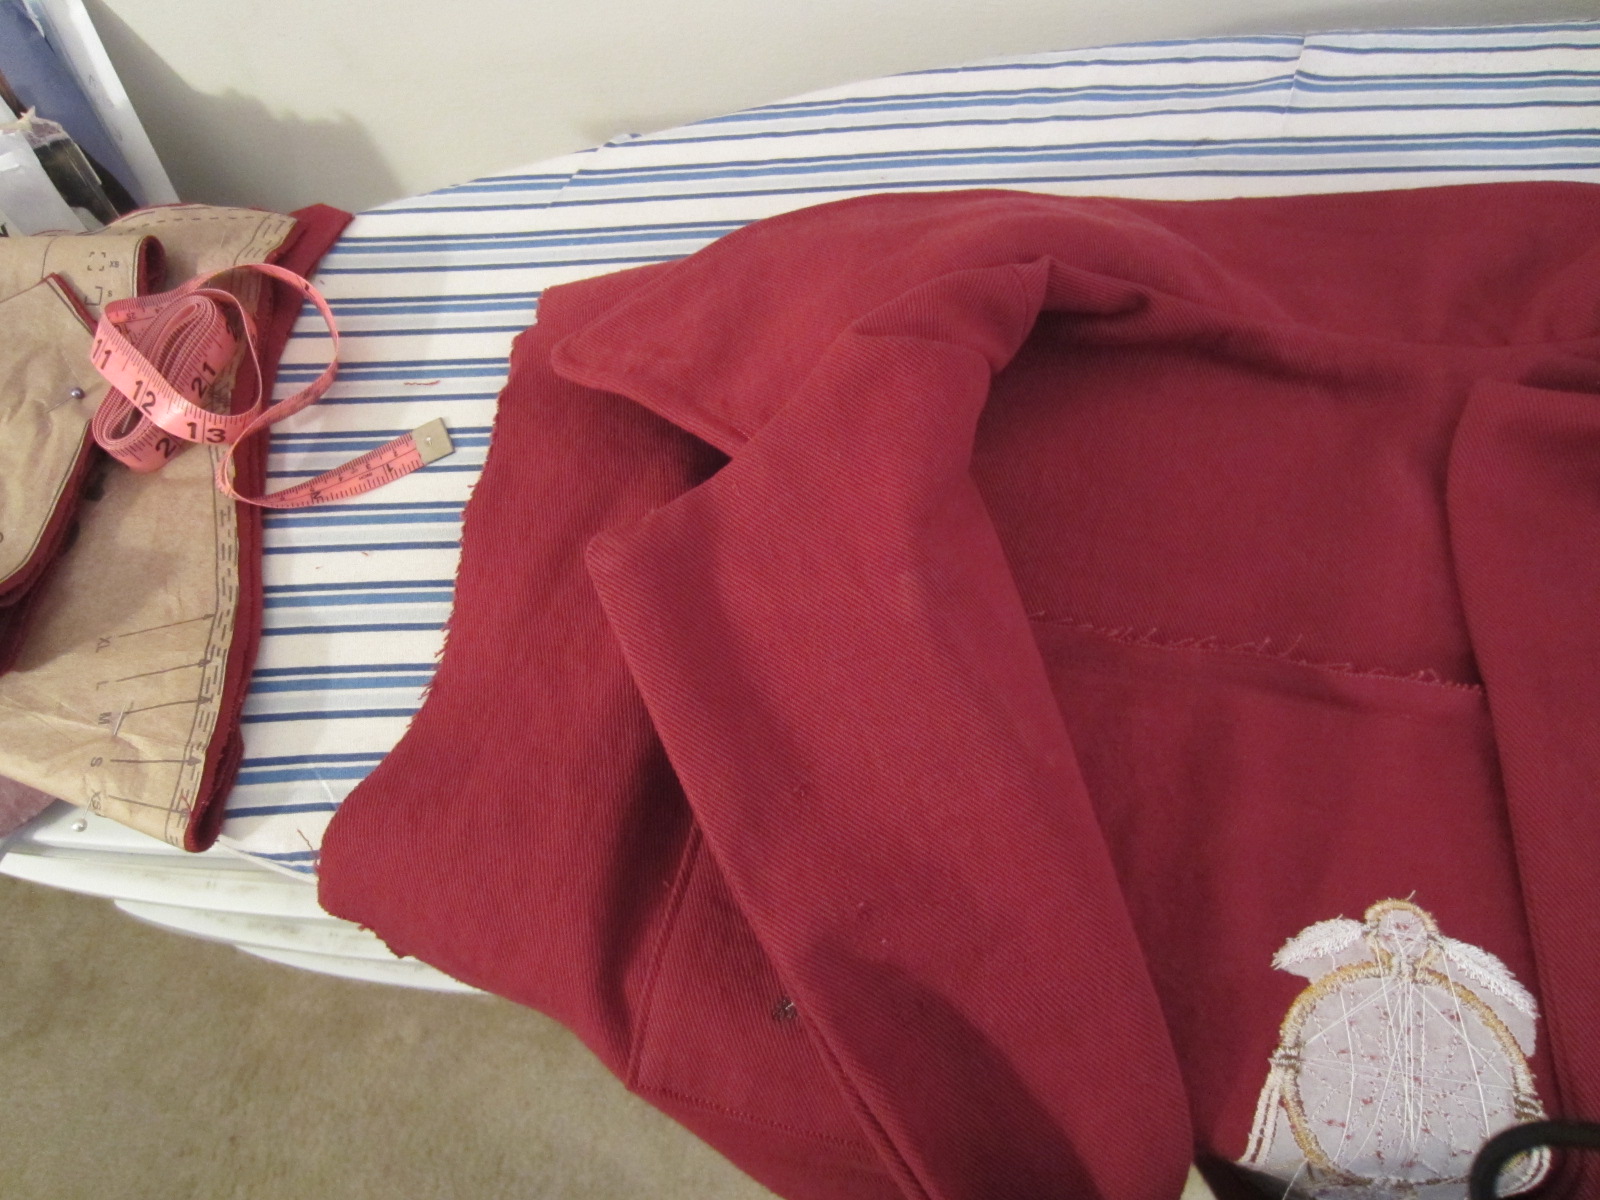
Add the Buttonholes... Do you ever get nervous here? I do not have a huge amount of button holes under my belt, and still get nervous because by the time you get them the project is all together, so one false move and..... let's not go there....... So I use my sensor setting...

Place the button in the back of the foot and Ms Jamome automatically sews the right size...

Here is a trick I picked up form a Utube video some time ago I wish I could state the source, but it was so long ago, and such a random find... anyway, it was to put a pin in the beginning and end as a stopper, so there were no accidents as I cut the button hole. It has worked famously every time.

Jeans I took 3 photos.. #1...

#2...

#3,,,

The shirt is a loose fitting Mock neck, LS shirt in Silver spandex - took no snaps of that construction. Whipped that one up in between lunch a movie.
The final results exceeded my expectations. yielding an outfit that matches my bike. I like that idea. Bike is a 2001 Honda Shadow Aero 1100.

Cheers!
JDol
3.06.2013
SWAP Accessory....
Faux Leather Hair Glove
A Hair Glove is a wrap for long hair when you are riding a motorcycle (or any other motor sport, too). I have real long hair, so I have trouble finding long ones for my hair. the longest I usually find is 8 inches. that covers about 1/2-2/3 my hair. Then try finding one that is "nice" and not plain or with flames or skulls on it. So....Let's make our own. Plus I wanted to make a matching one since I have the outfit I made now. Here is the one I already have been using:

This is how much hair it covers:

Yup, about 1/2.... I don't really want only a tube going down my back, so I won't make it double the size, just maybe 25% longer - another 2 inches should be good.

It closes with snaps...
/

And has a hook to catch on a ponytail holder that is wrapped around the top of the ponytail.

This one is 8" my new matching one will be 10".

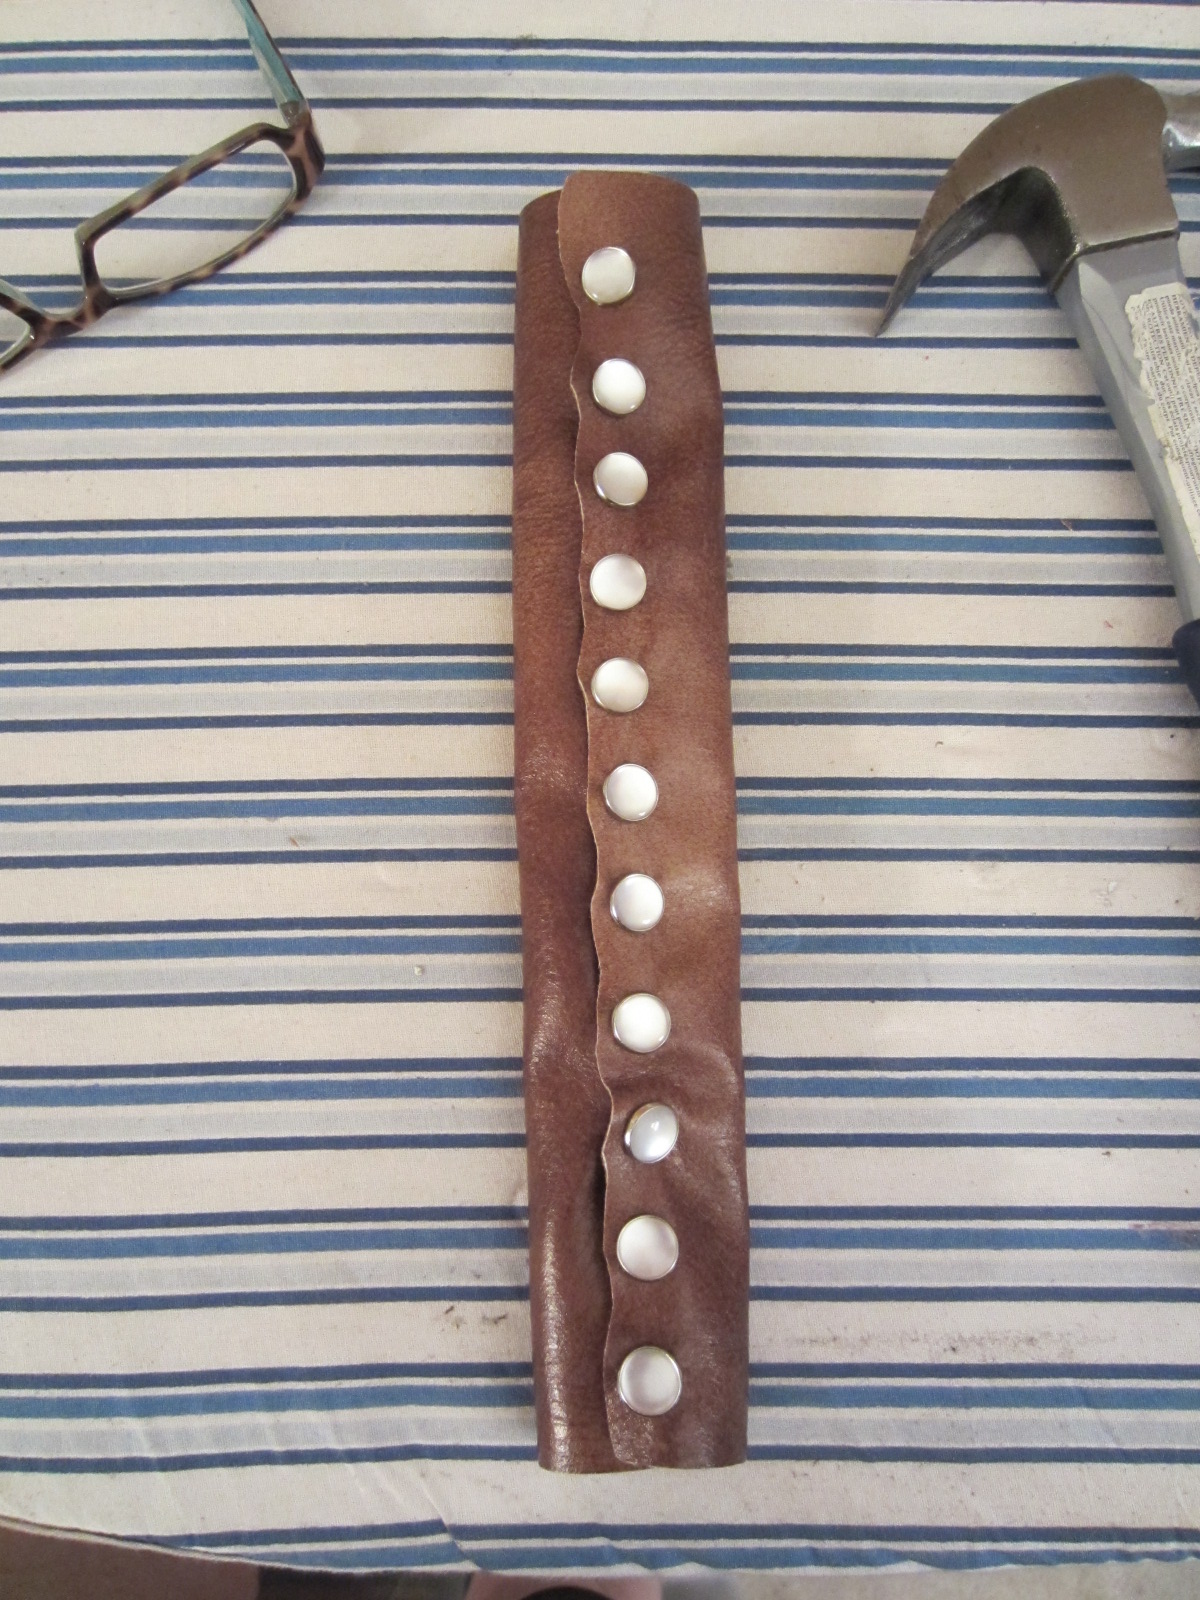
Then Mark where the snaps are going.. I think I did 7/8" apart, down the length of the glove.

Start the installation. Rocky start - first time with these type snaps, but smooth sailing after the first one...

These went on with a hammer and a thread spool, and utilized a pencil eraser to push the fabric onto the claws of the snap pieces before hammering the base pieces onto them.

So, installing the catch I found a covered large hook and eye set, that the hook would be perfect for.


Sewed that in place - it needs to be a little off center to end up proper on the glove when closed and wrapped.
/

We are ready to go to JA's for embellishments... Beads of a sort to top this off... (it's a clever way to hide the sewing on of that catch) :-)
Three strands of shells, and one floral piece. There were many choices in the brown section, but I like the look of these the best for my glove....

In action:

Comparison:

I can place the glove a little lower on my head by starting the ponytail a little lower on my neck. Then we'll cover even a little more hair, but I like the extra coverage I obtained with the extra 2 inches. I will be making a wine denim one also to go with my denim motorcycle outfit.
Cheers!
JDol
Subscribe to:
Posts (Atom)