Showing posts with label Embroidery. Show all posts

2.16.2014

Website Launch

I started a Website.


JDolsCreations.com

It is in it's infancy as of today, but I am going to build it up.  Only page on it so far is my Painted Leather Page.  (aside from the basics).  Next up I'm working on an Embroidery Page.  My idea is to start selling some of my artwork.  Come check it out if you get the chance! :)  All Comments are welcomed and feedback and suggestions, please! Thank you!

Cheers!


JDol

11.13.2013

I've been busy!

I've been busy, but I've been blogging on my Motorcycle Blog...  I've been embroidering SweatshirtsBaseball Caps (new), PatchesJacketVest... Pretty much doing a lot of embroidery.  Fitting in DH stuff in there also! :)  Well, my new motorcycle has been taking up a lot of my time, I'm enjoying it so much!  So blessed.

Cheers!

JDol

9.11.2013

Blue J Custom Seat

Well I made my first mod to my Bike.  Her name is now "Blue J" and I made a custom seat.  I will merely link to the post I made on another blog, see what you think!


I have since made a tank bib, but I haven't made a post yet, and plus it needs a mod to it.  I modified my fork bag to match/complement my seat.  Let me know what you think.


Cheers!


JDol


5.17.2013

SWAP Entry 2013 Final Pix.

I have now finished my very first SWAP (Sewing With A Plan) 2013. I had a lot of fun joining in this adventure.  You have seen my posts along the way.  I am making this post merely of the collection as a whole all in one post.  Photo submissions start on May 10th and close on May 18th.  I'm not sure when voting occurs, how it is handled, or any of those logistics.  That info will be revealed as time draws nearer.  I am so excited to see everyone's collections!  We were all given some sneak peeks of some, and then there are some quiet members who will unveil at the end.  Everyone has so much talent this will be hard to vote - I'll want to vote for so many of them.  I'm glad I joined the Stitcher's Guild Forum when I did - Last Sept/Oct, because I jumped in on a winter 6PAC sew-along, which gave me a little boost of confidence to join the SWAP 2013.

So here is the Collections Photo:


Photo #1

#1A: Top #1.  Self Designed and Drafted Top.  Della Buckskin Faux Leather from Warehouse Fabrics Inc.  Side zip, fringe, self fabric lace, modesty panel.

#1B: Bottom #1.  Matching Faux Leather Pants Burda "Bella" #6011. Della Buckskin from Warehouse Fabrics.com.  Fringe added. (not in pattern)


Photo#2

#2: Top #2.  3rd piece of ensemble: Self Drafted Halter inspired by a photo of a Harley Davidson Halter top.  Matching Faux Leather.  Self designed and weaved beading accents,  Back has embroidery of wolf. (next photo)


Photo #3

#3: Back of Self Drafted Halter with wolf embroidery. Design is from Embroidery Library
It's called Autumn Wolf


Photo#4

#4: Bridging Poncho with this collection


Photo #5

#5A: Top #3.  Same Self-Drafted Halter pattern (inspired by a picture of a Harley Davidson halter).  Completely hand painted with self designed artwork. (butterflies) Piece 3 of my wine denim ensemble. (piece 2 was a Moto Jacket which is not included in this SWAP)

#5B: Bottom #2.  Wine Denim trousers: Burda "Bella" #6011.  Fabric is: Wine Denim from Fabric.Com


Photo #6

#6A: Top #1. Purchased Plain Denim Shirt and embellished with yoke accent fabric (Southwest Decoratives), fringe, and 3 embroidery designs: a Sun Dancer Kachina, Rain Dance Kachina and a Wolf Diamond on the back. Designs from Design Library and Embroidery Library.

#6B: Bottom #1.  Black Denim Tiered Skirt from a XOX Skirt Tutorial from Weekend Designer.  Pattern was modified to include waist band, and to match photo that came with the tutorial.


Photo #7

#7A&7B: Back of Shirt and Skirt


Photo #8

#8A: Top #2.  Red Denim Vest  Butterick B5402. 10 oz. Red Bull Denim from JoAnn's. Made Cut-Off Sleeves., Embroidered Front pockets and back.

#8B: Bottom #2.  Matching Red Denim Jeans McCall's Palmer Pletsch M5894 Boot cut. Outfit designed to match my motorcycle.


Photo # 9

#9: Top #3.  Showcase the Silver Spandex Turtleneck pattern for the cooler days, also matches my motorcycle. Fabric (Dancewear from JoAnn's) Pattern: Kwik Sew/Kwik Serge 2900 view A.


Photo #10

#10: Bridging Poncho with this collection


Photo #11

#11:  Denim Skirt detail.


Well, That's it...

My SWAP 2013.  See you next year.

PS.  I'm onto a Summer 6PAC along with a JDol 6PAC starting May-July.

Cheers!

JDol.


4.13.2013

Native American Shirt

Store Bought...Hand Embellished - for my SWAP...

Well, Ran into a standstill on my SWAP...as my fellow swapper Syndi put it, the race was fun, but I got burnt out...  I lost my SWAP mojo....Until... DH showed me this website: Indian Village Mall  They have an enormous collection of Native American items... I am very drawn to Native American art and culture, and love the clothing.  I had just completed a Red Motorcycle Outfit In this Previous Post that had a Dream Catcher and some Feather embroidery on it.  Once I saw that website and the denim shirts they show, It all of a sudden hit me...I could build my other half of SWAP into a southwestern/Native American collection - I already had two tops and two bottoms for that side. (Once I cleared that my vest was a top, too, since it is worn that way, with no indecency.) So I could make one of these shirts and have that as my third top, then make the bridging Native American Poncho which would also go with all my moto gear on the other side of my collection, and Poof! my SWAP is done.  So, I couldn't summon the courage/energy to find a pattern and fabric to make the shirt I wanted, so I purchased a denim shirt and will embellish that.  the SWAP rules allow for a purchased item, so it will be legal, and the embellishing is what makes it fit the collection. And I can't wait to make it!.

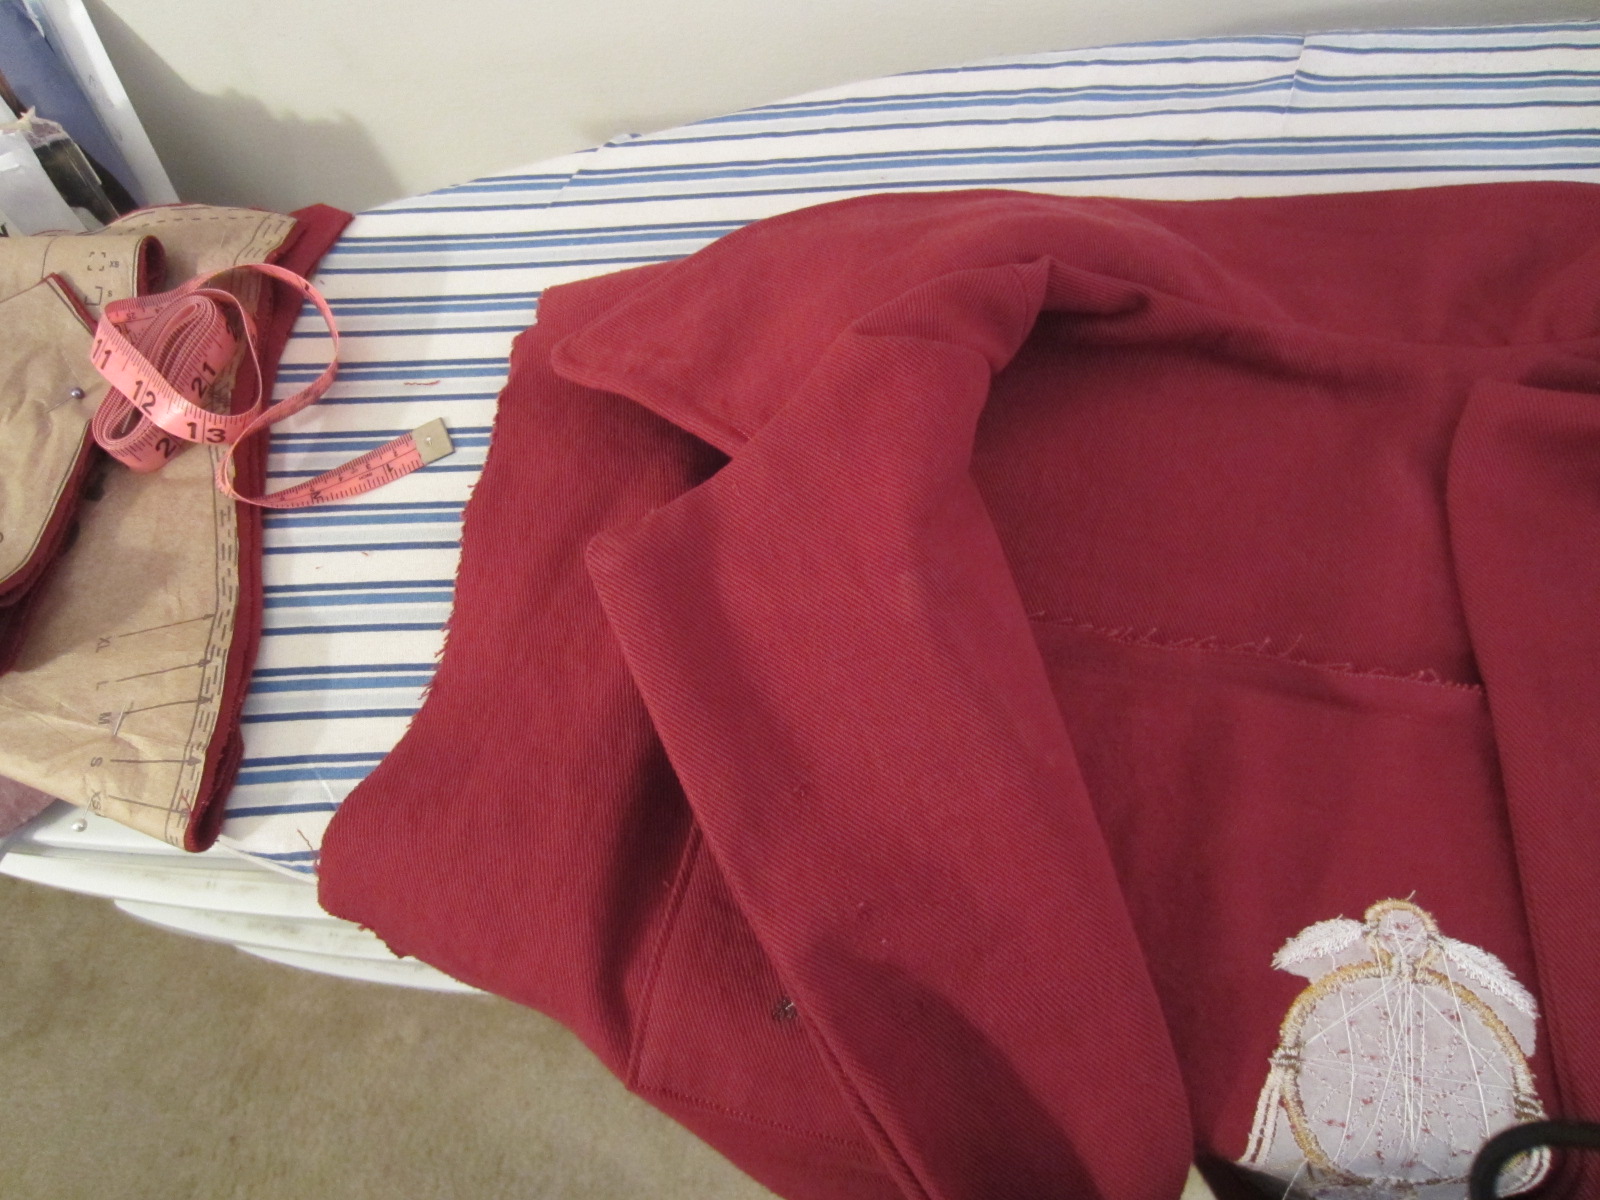
Bought the shirt - a burgundy - so it goes with my made jeans as well as my made skirt.


Now to choose the embroidery designs... OK, I love wolves, so there's been a Wolf Design that I've wanted to do for a long time. what better incentive than a SWAP piece to encourage me to put the time in....


The design is larger than my hoop size, so I will have to shrink it.  It is not suggested to shrink/enlarge designs at whim, because it alters stitches, etc.  I've never had disasters yet, so let's go for it.  This one is 51K stitches and 34 thread changes! Yikes!!! but I'll settle in and go for the long haul.

So let's import it into DRAWings software to shrink it.  Now it fits in my hoop...


It is too large for one file, so I'll need to save it as two.  One plus is that it is now approximately 45K stitches.

I decided I'd like to put fringe on the shirt, so part of the fringe is going along the back yoke, as such.  So I needed to measure so that my design would fall below the fringe.  First mark the bottom of the fringe line


And then mark the middle of the design for where the hoop center is going. 


Then to pick out all the threads - I write the colors out so I don't get confused as I go.. I use Sulky threads.  I only really use them by default, because when I got the machine she had a huge collection of threads and they were Sulky, so I just kept up the tradition.  If any machine embroiderers out there have any other opinions, I'll listen :-) ....


The first file... 93 minutes , but only 13 color changes, so that's easier than all those little changes that will come near the end in the second file...


Well I got hooped and set to press start at 7:30 last night, lasted about 1/2 hour before I was wiped out. Figured I'd pick it up this morning


All done with the first file... It took forever.  I was also very nervous, because do you see the border above? The white diamond? well it's closer on the right than on the left.  I was real nervous that it wasn't going to fit.  If you recall up in the photo of when I was re-sizing the file, the hoop in the software was horizontal, so I was a little less critical of centering the image left to right, than I was top to bottom. After all, I only shrunk it a minimal amount and pushed it to the edges as much as possible. So, when the design got saved, it saved it into a vertical hoop direction, and I didn't think anything of it, UNTIL it had already stitched quite a ways out and got to an outline and I noticed it was off center!  It was only a little bit, but I'm a worry-er... I couldn't stop now, I was too invested at that point. So I had no choice but to keep going and pray for the best.  Wouldn't you know that final border wouldn't be stitched until the very end of this file which turned out to be around the T minus 12 minute mark and 25K stitches.  BOY was I thankful that it made it!!!!!!  Lesson learned: Just make sure it is saved dead center, so it makes no matter how the file saves itself!

On to the 2nd file... this one's only 59 minutes, but 21 color changes....


I survived!!!!! And gee the result was worth it!!!! I'm so happy with this design.


So with the fringe it will look awesome...


So far so good on my shirt.

Now onto the front pockets... Still need to decide on the embroidery... I will look around at The Library, and at Designs  I already have some, but let's see what else is out there...

OK, I want Kachinas one for each pocket. Decided on a Rain Maker and a Sun Dancer.

So now to take off the pockets.. It seems that I can take them most off and leave the top on where it is reinforced. It seems to hoop okay.


I'm up for sewing out another one, what d'ya say? 71 minutes 14 changes. Let's go for it.


We survived another one!


Once the pocket gets sewn back on... I will also add fringe to the shoulders.


My other Kachina...


Well I started this one got a little into it, and couldn't go another stitch!  Total wipe out.  Been at it for 9 hours... Yikes!  That might be all I have in me for the day, or.. I might just need a rest for a few hours, and then pick it back up, just finish this design after dinner.  It's 4 pm now.  (been bloggin' for an hour)... Well, more later on....

Well after Dinner and a Movie (Collateral with Tom Cruise and Jamie Foxx) had some energy and finished up the Sun Dance Kachina.. Ahhh yes..


So When the pockets are sewn back together...


And the fringe is added...


All in all not a bad sewing day.. Got a lot accomplished...Tomorrow will have fresh eyes and pick up with designing sleeves and yoke, and that should do it.

Niters Gracie...

Okay All ready to power onward...

So I selected the print to go on the yoke, so let's line that up with the fringe and give it a stitch line...


Line up the sides, and the front of the yoke with the front fringe.  I basically did this all as I went - no measuring, cutting to a pattern, or anything like that...Just lining everything up and pinning... I sewed the cotton onto the the shirt, as opposed to replacing the yoke with the cotton piece; the denim was much stronger and heavier weight, so I wanted to keep that together.


Well there was really nothing much left to take pictures of as I finished it up... I double stitched the cotton yoke panel and that was set.  Then I opened up the arm seams to install the arm fringe, and sew it back up...That was so easy it was almost a crime. Then top-stitch the front pockets back in place, and that's it.  All Done...

SWAP Piece # 10! Two collections completed, now just the bridging poncho, which is also so easy it's also almost a crime.

Here are the pix of my Native American Shirt


From This to This:


And This to This:


And in Action:


 Hip Hip Hoo-Ray!!!

Cheers, 

Jo


3.13.2013

Red Motorcycle Outfit

Well, I took some photos last week of my SWAP motorcycle outfits modeled with my motorcycle.  Liked the Faux leather a lot, but while I love that wine denim outfit so much, just didn't like how it coordinated with my bike.  My bike is Deep Red and Silver or Maroon/Gray.  Looking at the photos, I pictured how nice it would be to have a red denim outfit with a gray shirt, that would match the bike.  Grabbed a swatch of the 10 oz red bull demin from JA and checked it out with the bike paint - looked nice to me, so let's go for it.  For the Gray/Silver shirt I used Shiny silver spandex - like the dance wear fabric.  Oooooh so comfy.

Used Patterns:
McCalls Palmer Pletsch M5894 Bootcut Jeans,
Butterick B5402 Connie Crawford Denim Jacket  I used cut off sleeves....
and for the shirt - Kwik Sew/Kwik Serge 2900 view A.

Mostly snapped photos of the vest.  just concentrated on sewing the jeans, and then just whipped up the shirt.

Chose to embroider the vest. Wanted to go with the Native American theme of my bike, so chose a Dream Catcher for the back and feathers for the front pockets.

Started as I always do - cut the pieces, iron the pattern pieces, cut the fabric.  Sometimes I am unable to do that all at once, depending how many pieces, and what not.  I am still a floor cutter, I do not have a cutting table.

 
It took quite a while and the span over two days to decide on the embroidery designs  First decision was the Dream Catcher for the back of the vest.


Next was deciding whether I wanted anything on the front, and if so, what?  Another day and found a design of feathers that would work for each pocket.  I would need to make a second copy in reverse of the design so there would be one for the right and left pockets.


Embroidering away..........

 
Front right and left ready to move on...

 
Collar installed...

 
Along with facings

 
Add the Buttonholes... Do you ever get nervous here?  I do not have a huge amount of button holes under my belt, and still get nervous because by the time you get them the project is all together, so one false move and..... let's not go there.......  So I use my sensor setting...
 
 
Place the button in the back of the foot and Ms Jamome automatically sews the right size...

 
Here is a trick I picked up form a Utube video some time ago I wish I could state the source, but it was so long ago, and such a random find... anyway, it was to put a pin in the beginning and end as a stopper, so there were no accidents as I cut the button hole.  It has worked famously every time.

 
Jeans I took 3 photos..  #1...
 
 
#2...

 
#3,,,

 
The shirt is a loose fitting Mock neck, LS shirt in Silver spandex - took no snaps of that construction. Whipped that one up in between lunch a movie.
 
The final results exceeded my expectations. yielding an outfit that matches my bike.  I like that idea.  Bike is a 2001 Honda Shadow Aero 1100.


Cheers!
 
JDol