Ravens are World Champions! Super Bowl Champs Super Bowl XLVII!
Okay, so on with making/buying Champion gear for all our stuff! Jackets, Shirts, decals for Cars, Flags for the house, and yes - Motorcycles! No good patches are out yet, and the decals are coming out slowly, so we are getting stuff a little at a time....
SOOOOOoooooo My 2nd Project - (My first was a tire wheel cover for my Jeep) is a motorcycle Backrest cover for Hubby's bike. I've made one before for Ravens, but this was before the Super Bowl Champions! So he wanted an updated one, right??? So can I make one as good as the last one I made? ..........Nervousness sets in............ The search for Super bowl embroidery designs starts... Hmmmm nothing really, unable to even find the Lombardi trophy that I thought was out there on Etsy So what can I do? Well, I remembered about the printable cotton fabric sheets that JA sells.... now that could be good, because I can design a graphic in PhotoShop and then print it and use it on the cover some kind of way... Hubby had a logo he liked, so made a quick an easy design:

Printed on the cotton.


Once printed, you need to let it dry for 10-15 minutes, then Iron it to set it. I, of course, used a pressing cloth....

So here are my pieces, front, back and gusset.. I wanted to put a signature on it, so off to my laptop and my embroidery design SW to make a monogram.
Ah... Alas, DH is home, he had come across some new designs for the Superbowl champs - they were much nicer than the one we had! - So, this above turned into "scratched" design number 1, and I got Design #2 ready for review/approval...

Approved!

Printed onto Fabric....
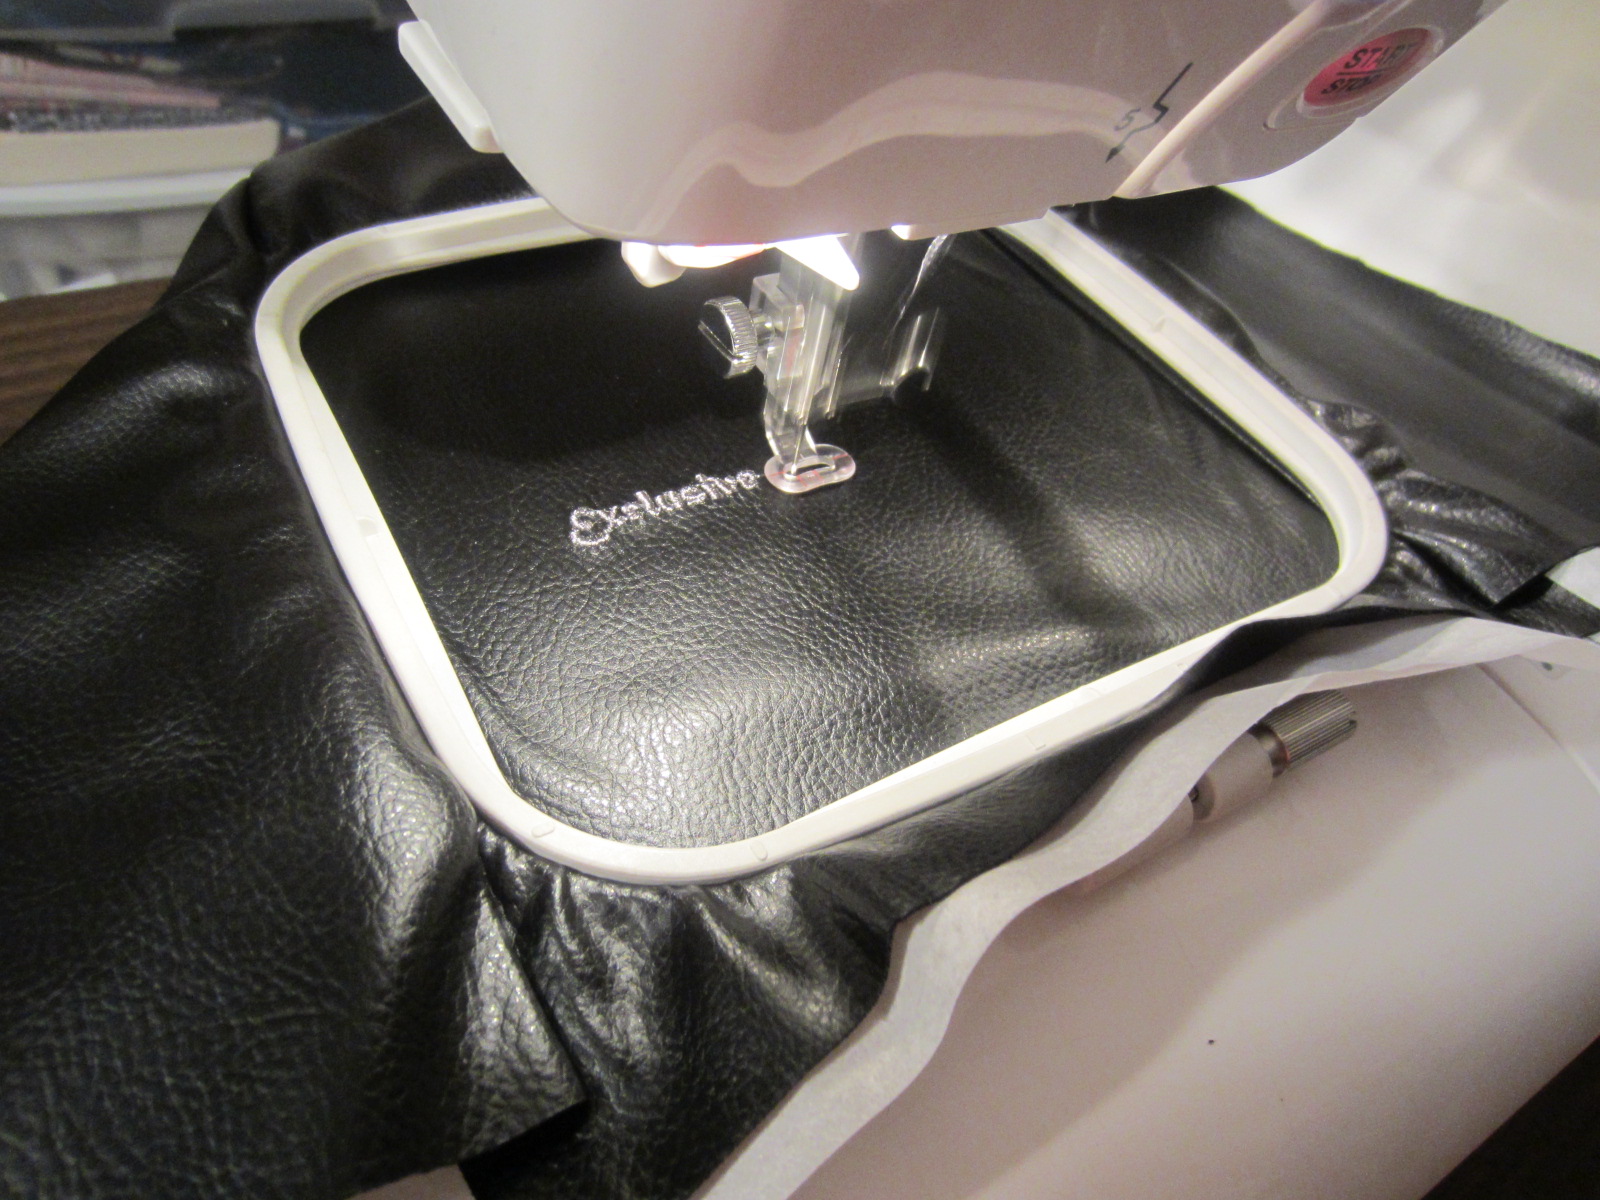
So, letting the new design dry onto the cotton, I got the monogramming underway

Completed...

So once it is dry you peel off the backing and iron it.

I then wanted to fuse it to the fabric (Pleather) so brought out the SAS...

Ironed the fabric to the SAS...

Trimmed the excess SAS

Then ironed the backed Fabric to the right side of the pleather... Coming out nicely... Did you know that I discovered this method also makes a nice custom mouse pad? So, Design #1 may become a mouse pad for the office...
So now I can sew up the back onto the cover...

I like this! Yes this is the back... It will be what shows to people as he rides. I ride a solo seat, so I don't have a back rest. So I'm excited... let's go out for a fitting.....

Okay, Needs a tuck here and there... But looking good!

Front needs the top corners rounded more for a better fit. - easy. Then I will be installing studs around the top & sides, and finishing off the bottom. Now the only thing that I am concerned about is weather proofing... you see the cotton is printed with ink jet and is "water soluble" My idea is to get a waterproofing spray. I used to use a matt spray for my artwork back in the day.. my sketches, paintings, even to coat my photographs (not snapshots), that might be good to set the ink, then a waterproofing spray to finish it off. I'm not sure if I will go right to the waterproof spray or use the matt spray first. Still deciding... This spray may all work to my benefit, too, because it will saturate the colors more, giving the black more black, etc. I mean it's OK now, but I think the richer look will improve it overall. On the other hand it could muck up my whites, we'll find out either way... So, as it turns out, my recycled design #1 will now be a test piece for the spray. Since I do not have the matt spray on hand I will test the waterproofing spray first. Well, off to cut the "maybe-might-have-been" mouse pad in half for testing....

Had this Waterproofing spray on hand for boots, etc. so tested this out.

As you can see when sprayed on (right side piece) it darkens and mucks up the design, flattening it and dropping contrast...

But Wait!!! let it dry after about 5 minutes and Presto! it's back to bright whites! You can see the slight difference in the black and the blue, but notice the white of the beak is still nice bright white! Yippee! So i did two coats pretty much back to back, then went on to installing the studs onto the cover, and sewing the hem. Well the hem first and then the studs actually... :-)

This pleather you needed the tissue paper to sew because it's real sticky/rubbery and I do not have a Teflon foot yet. The tissue paper is a fine alternative so far...

So the studs started out OK, but I must I hate to admit got a little sloppier as they went on. They aren't terrible, or regrettable, but sub par for my standards. My DH will just say "It's a guys bike" insinuating that little flaws here and there are of nothing to a guy. But to me it's not "perfect"

I do like the look though....

Okay time to spray the real thing.... by this time I had given the test piece a spritz of water and the color did not run, so I was very excited about this idea! So I'm confident of this route and went onward - two - three coats... just to make sure....

Some popcorn while I'm waiting for this to dry real good... still need to install the Velcro tie on.
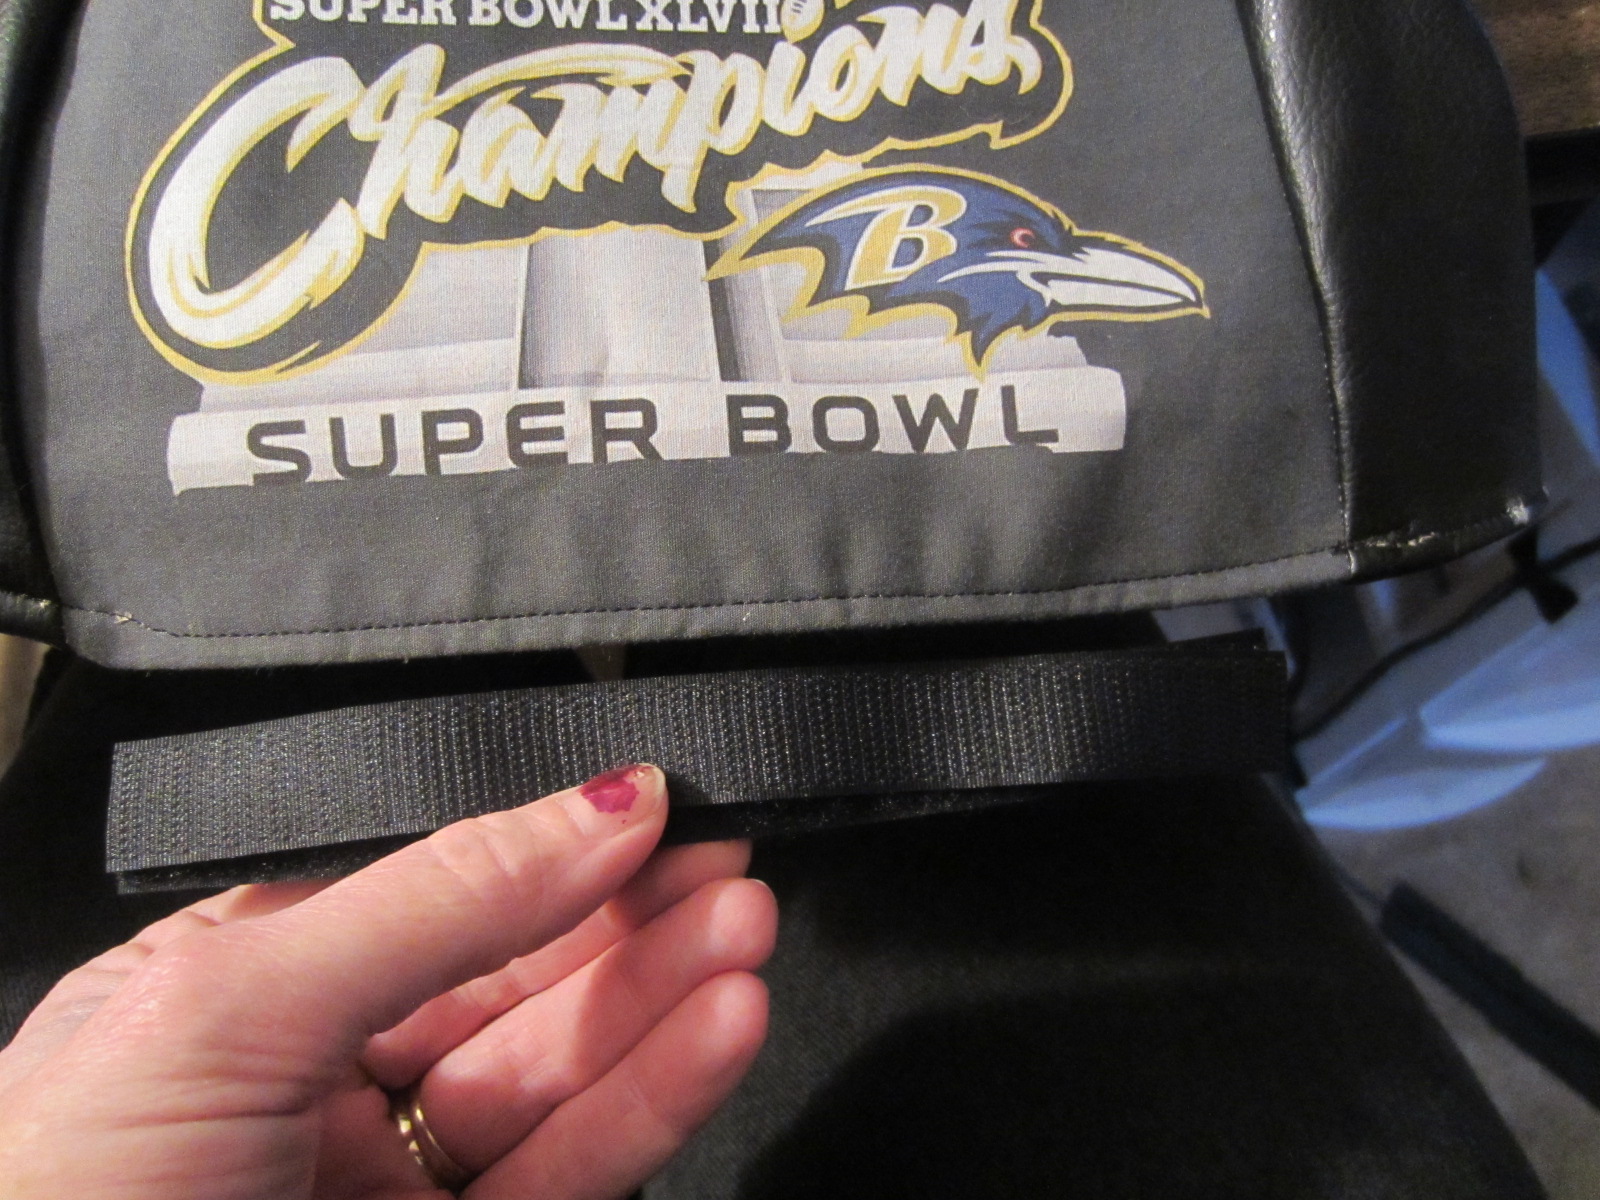
Figure about this much Velcro so it will have enough overlap underneath. This doenst' have to be super-duper strong or anything, just enough to keep a nice fit and keep this on the bike.

Perfect! These strips go through the bars on the side of the backrest and will Catch underneath so they are practically invisible. The first time I made a cover about year go, i made the closure from the front to the back, and it pulled on the two pieces so then they weren't flat and didnt' look "fitted: to the backrest. By installing these on the sides, the panels both are straight and look like flat panels. I came up with that design improvement in my 2nd cover. In fact that newer model had improved so much, I had to even throw the first one out - it kind of looked like a shower cap. it was awful; i had certainly improved in those months in between.
So, I wish it was nicer weather today so I could roll the bike out to take a picture in daylight, but alas i had to snap a final photo in the garage... what can ya do... gotta go with what ya got....

Looks like I left the last one sitting on the seat when I snapped this pic, you can see the Velcro of the old one hanging off the seat... Well ignore that. :-)
I think DH will be thrilled! I just know he's going riding tomorrow, so he can show it off! and who knows, maybe my tire cover will be here and I can show that off!
Cheers!
No comments:
Post a Comment