A JDol Creation for my SWAP Denim Motorycle Outfit...
A lot if inspiration went into this project. First and foremost my comrade IndigoTiger from my Favorite Sewing Forum gets mega kudos for inspiring me to paint this halter. She does stenciling on her Tee's and after seeing her latest Cave Horse Stencil Tee (Max is on that link, too) I had to give stenciling a try. So I did on the jacket in a previous post in February. I enjoyed it, and remembered all those years ago when I used to paint acrylics and dabbled in watercolor. My painting artist was awakened, and now I have another way to personalize my clothing.... I found I like to mix stencil with much freehand painting. Way too much fun!
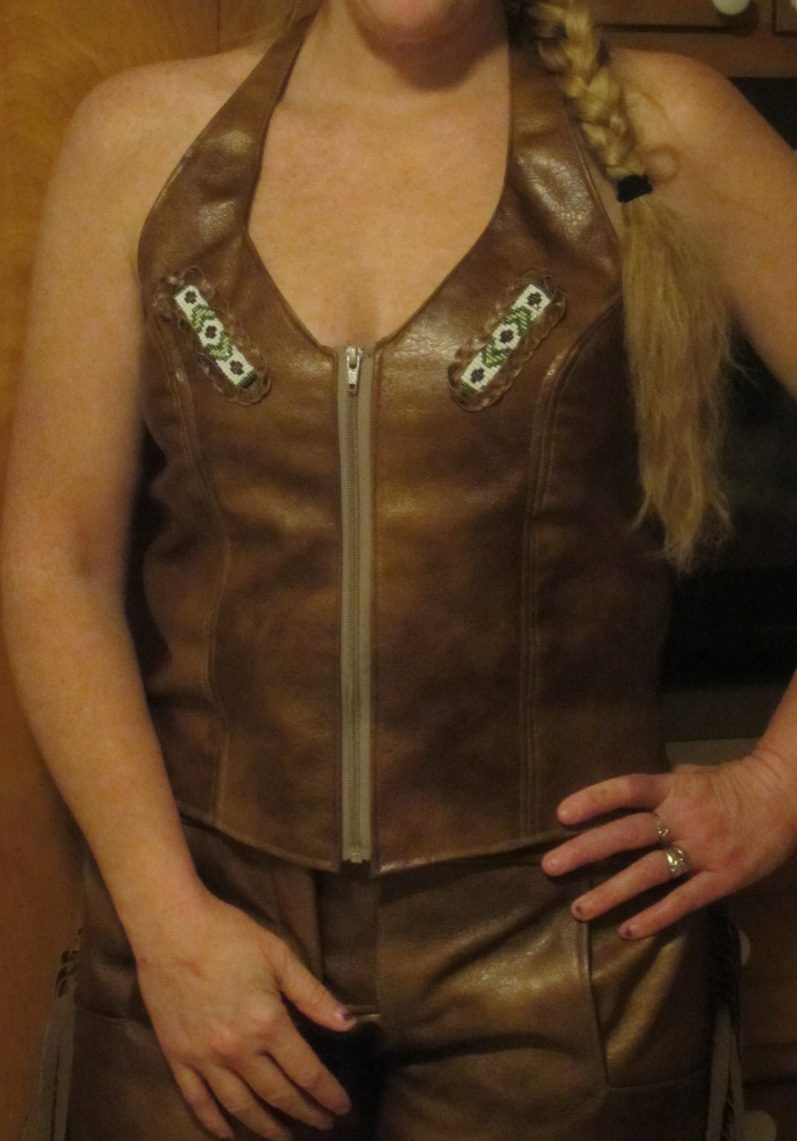
I was inspired by this Harley leather Halter

Already made one Halter from this inspiration picture (see below)


I cut the pieces and sewed the back pieces together, and began to paint my background

It sort of goes on and soaks in very fast. I worked with it, and a few coats....

Then painted the glitter on...

So, Now to let the background dry a good 4 plus hours....
Sewed together the font pieces, and painted them. This is the first coat - it soaks in after it goes on... I think by the time I was done, I had more of a solid shade on the underneath of the vest, than on the top of the vest. Not thrilled with that; I was hoping for a more opaque spray paint job for the back ground.

Below is the after shot....

Making the stencil for the main butterfly on the back of the vest. Now mind you, I was in the kitchen looking at the finished back panel, visualizing different images and trying to figure out what kind of butterfly design I was going to paint on the panel, so I'm staring at the panel on the floor on the newspapers "drying" and DH comes in and says - "Nothing like watching paint dry"... LOL...


Got the basic down, now to play... I had inspirations from this Butterfly Pictures Website and went on to paint the main butterfly. The whole image was going to come along as I was inspired to make each next step....


Butterfly Done

Next inspiration...
And finally the end result:

So that is the rear panel. I am letting the two front pieces dry overnight. We'll get more pix as we proceed to the front pieces. I also want to top this off with another shot of glitter - I like that added sparkle.
The Next Day...
Well, I'm working on the front pieces today, (painting)... So far so good... The pieces dried overnight, so my "canvas" is ready... See below what I mean that the paint seemed to coat through to the underside more than the top side? There must be some sort of primer available to prime the fabric to avoid that... Wrong side is shown first below.


Okay, so off to drawing a little bit of an outline of my butterfly... yes you can barely see it in real life, too....

So painting the first side then wanting the second side to come out reasonably mirrored, I traced the first image mirrored onto the Stabilizer Paper, to cut a quick template...

I basically laid the paper on top of the wet paint first to get a general outline.
So now have both sides painted the base image.

Now to go to work on the painting - Fun!
Here is my result...


The picture doesn't grab the glitter paint that is what you see the gold as. I think this top looks real nice in person. I want to add a little some thing more to the sides... not sure If I'm going to add some kind of glittery swirls, or some green stemmed flowers... It's a big decision... still gotta ponder... the gold swirls will enhance the butterfly, and the green stemmed flowers will bring more color... need to determine what I am going for on the front... The back is very colorful....so do I want to keep that theme or ???.... anyway, I'm really enjoying this, and can't wait to sew it all up and see how it looks modeled with the pants.
It's supposed to be sunny and 50F next Friday, so I am hoping to model my new outfits on my motorcycle... I have 4 outfits now. (well this will round out the 4th) 2 spring and 2 summer. I need to get more of that brown knit and make a long sleeve tee to wear under the fringe faux leather top.
Later
Okay, so paint dried, and installed side panels...

Then the zip on front pieces...

Oh yeah....BTW I decided on glitter flowers with butterflies on the sides of the big butterfly. Just a little accent.
So, sewed up all the top stitching/hems and we were all done.
Now I have a piece of Wearable Art.
Final Pix:


Hip Hip Hoo-ray!
Cheers,
JDol
You are fearless and talented. Great work.
ReplyDeleteWow - you have really taken off, or maybe like your butterflies you have emerged from your chrysalis! What a lovely colorful halter top.
ReplyDeleteIndigotiger